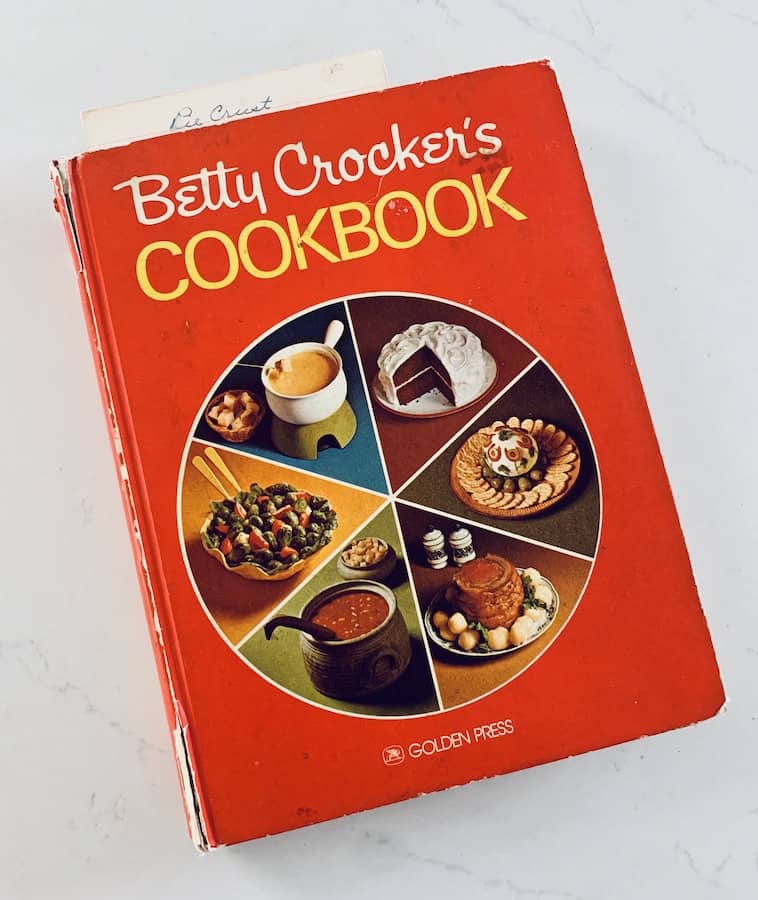
About once a year, in late spring or early summer, my mom would pull out her pie crust recipe card and Betty Crocker cookbook to make a juicy, strawberry rhubarb pie, my absolute favorite fruit pie.
Through many moves over the years, she still has that old-as-me Betty Crocker cookbook.
My mom's pie crust and Betty Crocker's strawberry rhubarb filling, both full of gluten, inspired this fabulous gluten-free strawberry rhubarb pie recipe.
There's a reason pies are considered comfort food. They take us back to our childhood. They taste good in a way that makes us happy-sigh.
For those of us who have to eat gluten-free due to celiac disease or gluten intolerance, that happy-sigh is especially meaningful when we successfully create a gluten-free version of a favorite family recipe.
This strawberry rhubarb pie gives me that feeling, and I am delighted to share it with you.
Ingredients
Pie Crust: This double-crust pie requires 2 gluten-free pie crusts for a 9" pie. If you don't already have a great gluten-free pie crust recipe, I recommend using my easy gluten-free pie crust recipe. It takes about 10 minutes to make pie dough for two crusts (plus an hour resting in the refrigerator) and is undetectably gluten-free. You will love the tender flaky crust!
For a shortcut, you can use store-bought pie shells. Wholly Gluten-Free pie shells are sold in a two-pack, already in pie pans. You'll need to defrost and reroll one of the pie shells for the top crust, but the bottom crust is ready to parbake right in the pan.
Sugar: While the recipe calls for 1 cup of sugar, feel free to reduce the sugar if you want the tartness of rhubarb to stand out, or if you have especially sweet or fresh-picked strawberries. We have a nearby strawberry farm, so I often have very sweet, peak-of-season strawberries.
Gluten-Free Flour: You'll use a small amount of flour to roll out the crusts and to thicken the pie filling. I use King Arthur Gluten-Free Measure for Measure Flour, which is a staple in my kitchen, but any cup-for-cup gluten-free replacement flour will work well in the pie filling. (Note, for making the pie crust, however, I highly recommend sticking with King Arthur Gluten-Free Measure for Measure Flour or your favorite 1-to-1 replacement flour.)
Orange Zest: Just a small amount of orange zest is a subtle compliment to the rhubarb. It doesn't overpower the rhubarb but adds another layer of flavor to the perfect blend of sweet and tart in this pie. Orange zest is certainly not essential to the recipe, but I recommend you include it.
Fresh Strawberries & Rhubarbs: Sweet strawberries and tart rhubarb stalks are the perfect combination. You will look forward to this seasonal combination every spring and summer.
Depending on where you live in the country, strawberry and rhubarb seasons should overlap beautifully. It's as if strawberries and rhubarb were made for each other. (I think they were!)
The in-season overlap is a bit longer in the Northeast and Midwest, where strawberry season and rhubarb season hit their peak simultaneously, in May-June. In Southern California, the best local strawberries are usually found from April to May, but I have made this pie in July with imported fruit and fantastic results.
Butter: Pieces of butter are dotted on top of the unbaked pie filling. As the pie bakes, the butter melts and mixes with flour and liquids from the fruit to perfectly thicken your delicious pie filling.
Instructions
Parbake for the Perfect, Flaky Bottom Crust
Whether you start with my easy gluten-free pie crust recipe or your own gluten-free pie crust recipe, I recommend parbaking the bottom crust for 10 minutes at 450℉.
Parbaking allows the bottom crust to dry out and partially ("par") bake before you add the juicy fruit filling. Without par-baking, a pie crust can become too moist and not fully cooked.
This quick, extra step is worth it for the perfect pie crust. Plus, it parbakes while you prep the filling ingredients, so it takes very little time or effort.
Preheat oven to 450℉.
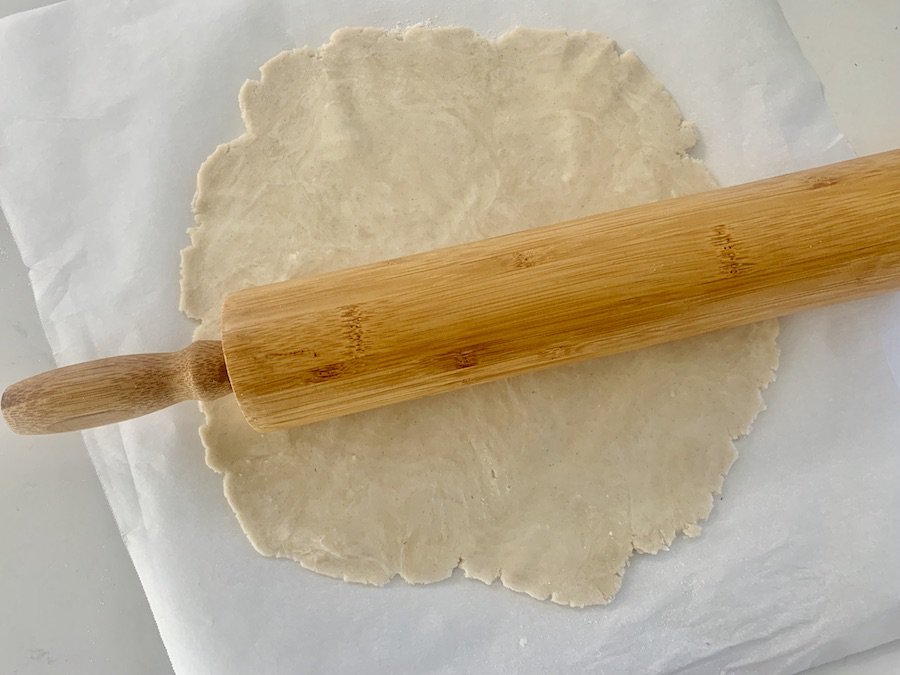
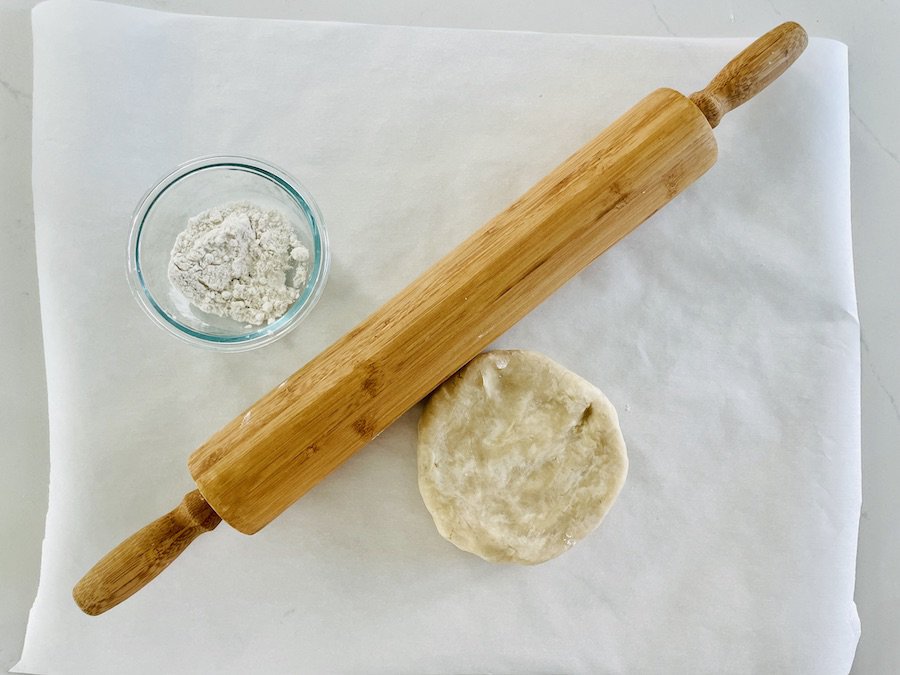
On parchment paper with a light dusting of flour, use a rolling pin to roll out the bottom pie crust.
Return the rolled-out dough to the fridge while the oven preheats. To transfer it easily without breaking or cracking the dough, slide it and parchment paper onto a large plate or baking sheet. Keeping the dough chilled will help it maintain its shape, rather than sink down, when you parbake.
If using a metal pan, you can place the dough in the pie pan now and then refrigerate the baking dish and crust together. For ceramic and Pyrex pie pans, keep the dough in the fridge and then place it in the pan immediately before baking. Ceramic could crack and Pyrex could explode if moved directly from the fridge to the oven.
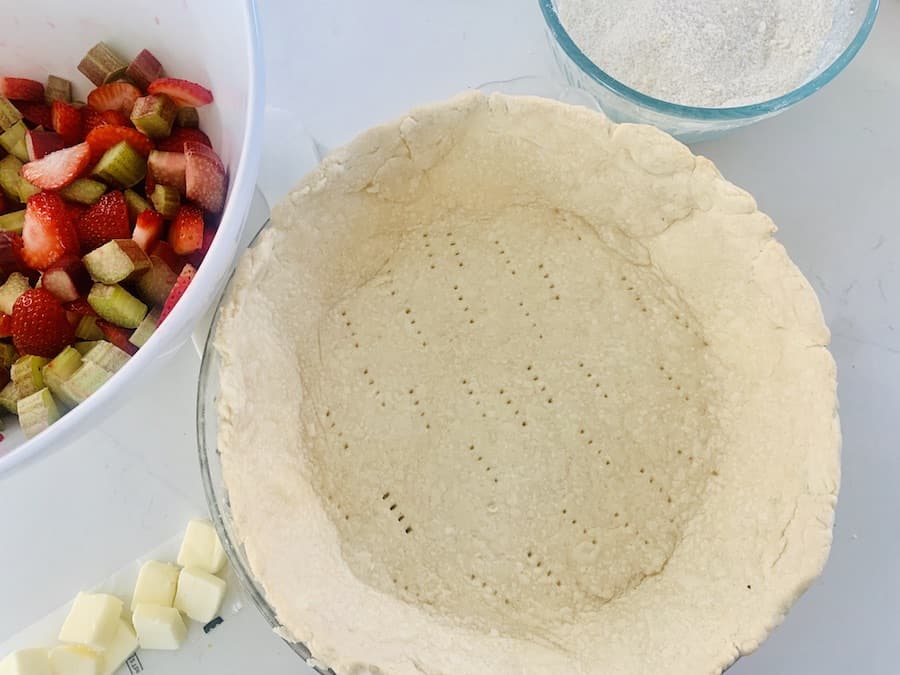
Once the oven is preheated, flip the crust into the pie pan and remove the parchment paper. Gently push the crust into the bottom edges of the pie dish to fill it completely. Trim the excess crust. Dock with a fork to vent and prevent the crust from puffing up.
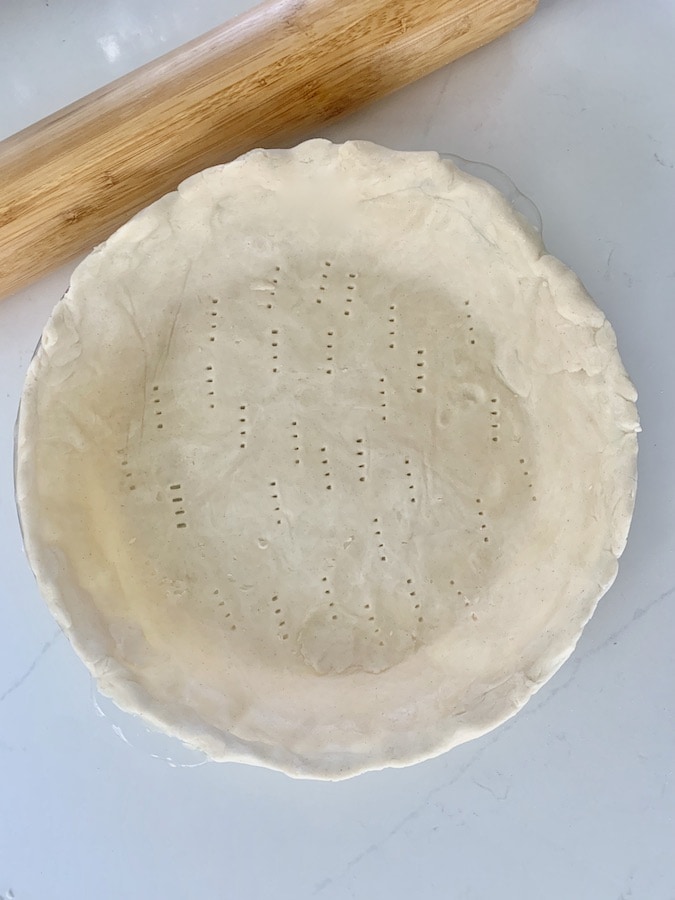
Cover the edges of the pie with a pie shield to prevent burning. Place the pie pan on a metal baking sheet and bake at 450℉ degrees for 10 min on the bottom rack of the oven, where the bottom of the crust will be closest to the lower heating element.
When placing the pie in the oven, a metal baking sheet (or pizza stone) under the pie plate allows the heat to be evenly conducted throughout the bottom crust.
If using a metal pie pan (not Pyrex or ceramic), let the baking sheet get hot in the oven during preheating. Otherwise, just put the room-temperature baking sheet in the preheated oven at the same time as the pie. Later, when baking the filled pie, the baking sheet also keeps your oven clean in case the pie filling bubbles over a bit.
When finished parbaking the bottom crust, lower the oven temperature to 425℉.
Prepare Pie
Roll out the top pie crust on parchment paper to 1-2" larger than the pie pan. Chill it in the fridge while preparing the filling.
Keeping the butter in the crust chilled before it hits the hot oven will create the buttery pockets of air we know as a flaky pie crust.

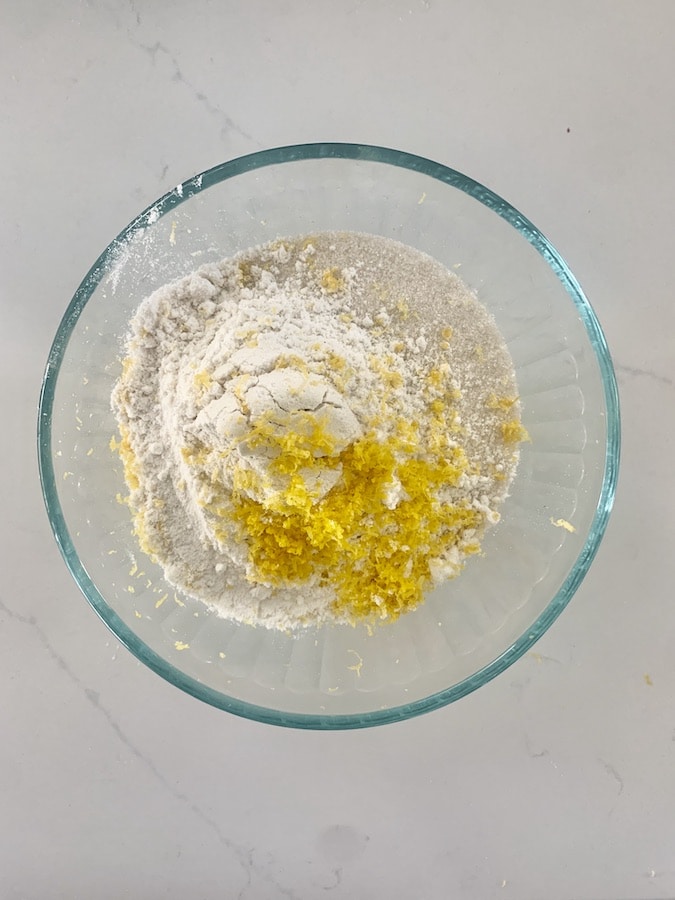
In a small bowl, mix sugar, flour, and orange zest. Set aside.
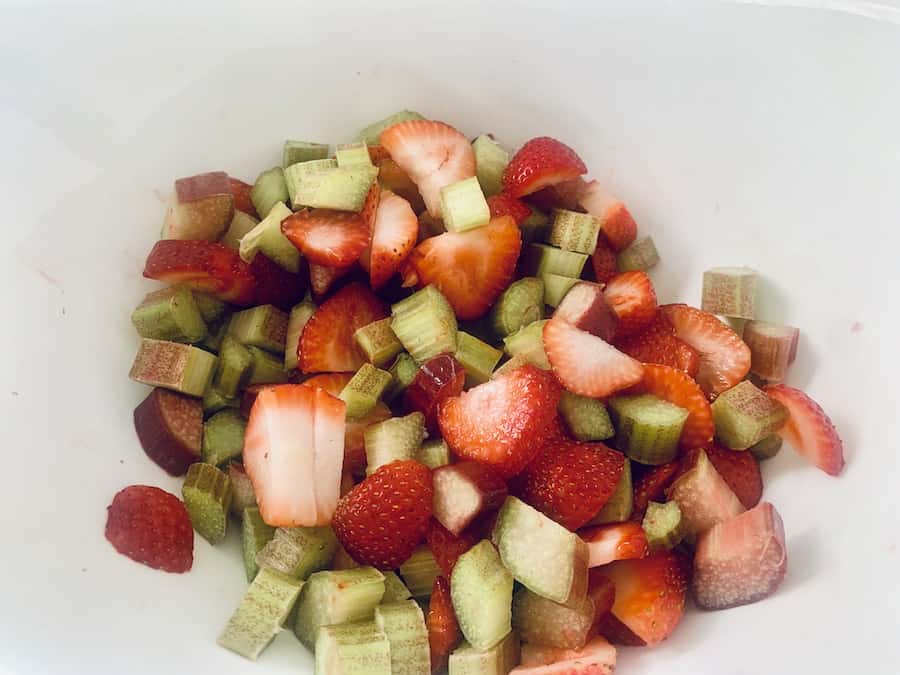
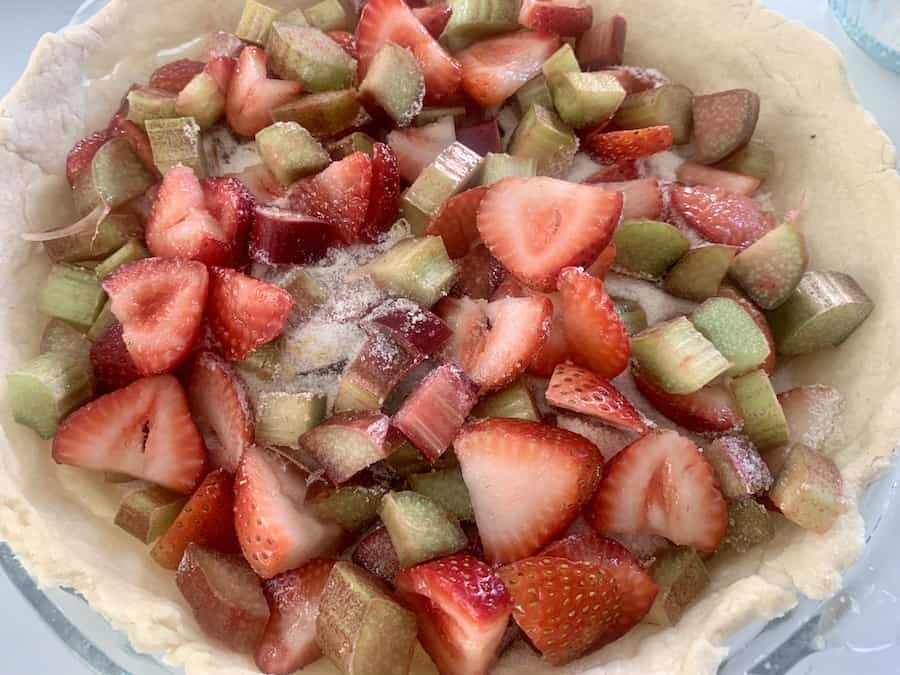
In a medium bowl, mix sliced strawberries and rhubarb pieces.
Place half of the strawberry-rhubarb mixture in the parbaked pie crust. Top with half of the sugar-flour mixture. There's no need to mix the sugar-flour mixture with the fruit, simply sprinkle it around fairly evenly and all the way to the edges.
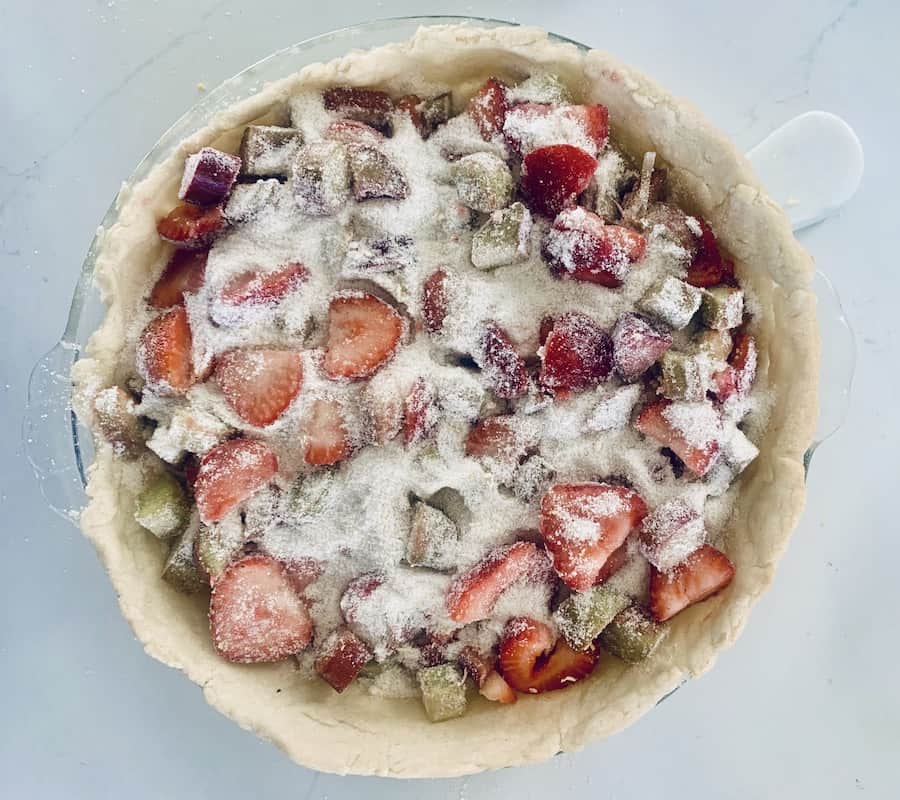
Add the remaining strawberry-rhubarb mixture and top with the remaining sugar-flour mixture.
Dot with butter.


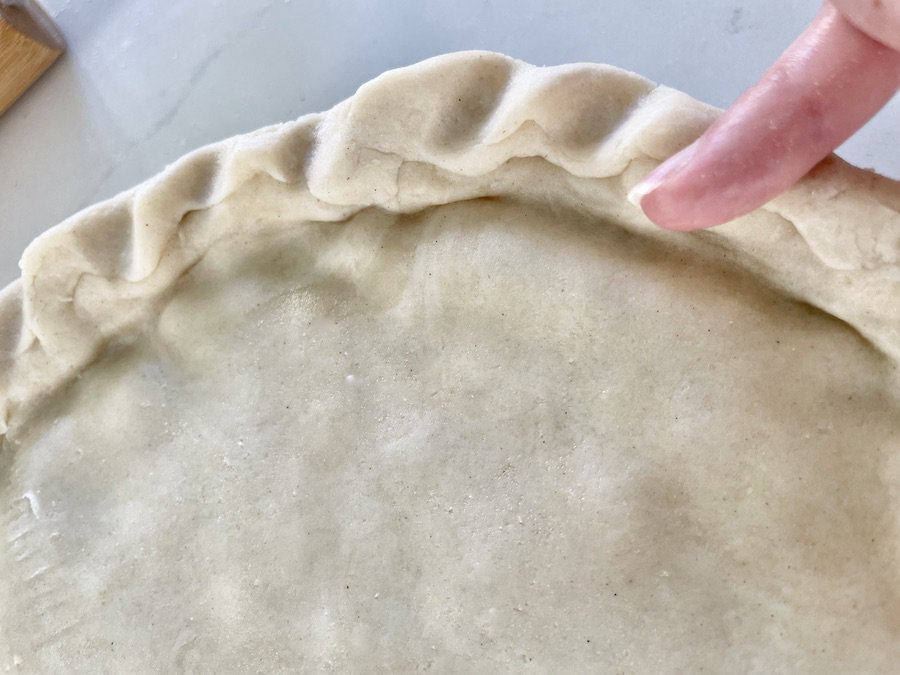
Place the chilled, rolled-out crust on top of the pie filling. Use a small, sharp knife to cut slits in the crust to vent. Or use a small cookie cutter to cut out decorative vents.
Create a decorative edge. Pinch the edges of the pie crust together. Then, press your pinky or thumb to create an impression. Repeat, all the way around the edge of the pie for an easy decorative edge.
Cover the edges of the crust with a pie shield and bake at 425℉ in the lower third of your oven for 40-50 minutes until the juice is bubbling and the crust is beautifully browned. Remove the pie shield during the last 15 minutes of baking.
Cool for one hour before serving. Waiting is the most challenging part of this recipe. It's worth the wait! As the pie cools, the filling will set. After an hour the pie will still be warm... the perfect temperature.
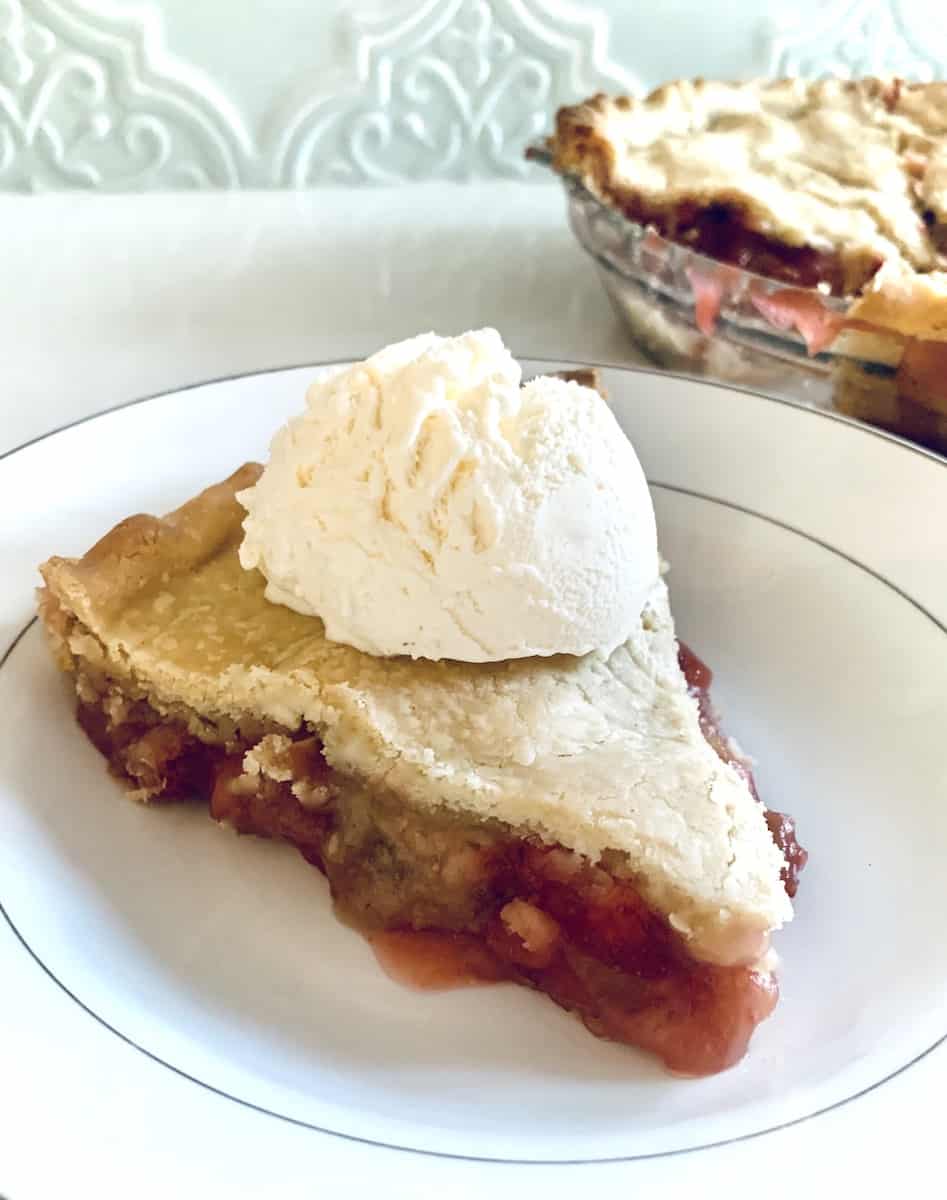
Slice and serve with a scoop of vanilla ice cream.

Enjoy every bite of this amazingly flaky gluten-free strawberry rhubarb pie!

Gluten-Free Strawberry Rhubarb Pie
Ingredients
- 2 gluten-free pie crusts use my easy recipe for perfect gluten-free pie crusts
- 1 cup sugar
- ⅓ cup Gluten-Free Flour plus extra for dusting (I use King Arthur Gluten-Free Measure for Measure Flour)
- 1 teaspoon orange zest
- 2 heaping cups sliced fresh strawberries approximately 1 lb
- 2 heaping cups ½ inch pieces of fresh rhubarb approximately 4-5 medium stalks
- 2 tablespoons butter cubed
Instructions
Parbake Bottom Crust
- Preheat oven to 450℉.
- On parchment paper with a light dusting of flour, roll out the bottom pie crust. Return rolled-out dough to the fridge while the oven preheats.
- Once preheated, flip the crust into pie pan and remove parchment paper. Gently push crust into the bottom edges of the pie pan to fill completely. Removed excess crust from the edges of the pan. Dock the bottom of the crust with a fork.
- Place a pie shield over the edges of the pie. Place the pie pan on a metal baking sheet and bake at 450℉ for 10 min in lower third of oven. When finished baking, lower oven temperature to 425℉.
Prepare Pie
- Roll out top pie crust on parchment paper to 1-2" larger than pie pan. Chill it in the fridge while preparing filling.
- In a small bowl, mix sugar, flour, and orange zest. Set aside.
- In a medium bowl, mix sliced strawberries and rhubarb pieces.
- Place half of the strawberry-rhubarb mixture in the parbaked pie crust. Top with half of the sugar mixture. Add remaining strawberry-rhubarb mixture and top with remaining sugar mixture. Dot with butter.
- Cover with top crust. Use a small knife to cut slits in crust to vent. Pinch the edges, and press your pinky or thumb at an angle all around the edge for an easy decorative edge.
- Cover edges of crust with a pie shield and bake at 425℉ in lower third of oven for 40-50 minutes until the juice is bubbling and the crust is beautifully browned. Remove pie shield during last 15 minutes of baking. Cool for one hour before serving.


Leave a Reply