It's the time of year when you gather your cookie cutters, festive sprinkles, and loved ones to make traditional Christmas sugar cookies. You'll be happy to know you can make easy gluten-free sugar cookies that are every bit as soft and delicious as the gluten-filled version!
As a celiac mom (both my child and I have a celiac diagnosis), I am delighted to share this recipe with your family, so everyone can enjoy the best gluten-free sugar cookies and all of the Christmas magic!
Add them to your holiday cookie tray alongside gluten-free gingersnaps and retro gluten-free candy cane cookies.
Change out the cookie shapes for all seasons! For Mother's Day or Easter, include flower or bunny-shaped sugar cookies on a gluten-free dessert charcuterie with gluten-free lavender lemon cookies and gluten-free salted caramel & dark chocolate cookie bars.
Why You'll Love These Gluten-Free Sugar Cookies
- Undetectably Gluten-Free: Whether you're gluten-free or a muggle, you will not be able to tell these cookies are gluten-free!
- Easy: The recipe is quick and simple, and the dough is easily workable, exactly how you remember from before your gluten-free days.
- Holiday Fun: You can be gluten-free and still enjoy your favorite holiday traditions.
"No one knew they were gluten-free"
"This recipe was great! We did our annual neighborhood cookie party last night and I made these for the kids to ice and decorate. No one knew they were gf until I told my celiac son he could eat them. Will be my go to recipe for sure!"
~Courtney
At a Glance: Gluten-Free Sugar Cookies
⏱ Prep Time: 20 minutes
❄️ Chill Time: 1 hour
🔥 Bake Time: 8 minutes
⏳ Total Time: ~ 1 hour 28 minutes
👥 Servings: ~ 24 gluten-free sugar cookies
📖 Dietary Info: gluten-free (always on Go Gluten Freely!)
👧 Kid-Friendly: Yes! Fun holiday activity for kids and families
Summarize & Save This Content On....
Jump to:
- Why You'll Love These Gluten-Free Sugar Cookies
- "No one knew they were gluten-free"
- At a Glance: Gluten-Free Sugar Cookies
- Key Ingredients
- Tip! Measuring Gluten-Free Flour
- Gluten-Free Sugar Cookie Decorations
- How to Make Gluten-Free Sugar Cookies
- Storage
- Gluten-Free Cookie Dough Tips
- Frequently Asked Questions
- More Gluten-Free Cookie Recipes
- Gluten-Free Sugar Cookies
Key Ingredients

- Gluten-Free Flour with Xanthan Gum: Make sure your gluten-free flour contains xanthan gum. It is a common binder in gluten-free baking used to replace the structure and elasticity provided by gluten. In this recipe, the xanthan gum is essential to prevent dry, crumbly cookies. This recipe was tested with my favorite 1:1 replacement flour: King Arthur Measure for Measure Gluten-Free Flour. It's my flour of choice for non-yeasted recipes, from gluten-free pie crust to gluten-free crepes.
- Butter and Butter-Flavored Shortening: The cookie dough uses a combination of butter and butter-flavored shortening for the best of both worlds. You get real butter taste from the butter, while the shortening helps create soft cookies that hold their shape... important for cut-out cookies.
- Baking Powder and Eggs: The baking powder helps with the rise and soft texture of the cookie. Same with the eggs, in addition to adding moisture and structure.
See recipe card for quantities.
Tip! Measuring Gluten-Free Flour

Do not scoop directly from the bag when measuring gluten-free flour. This will compress the flour into the measuring cup, leading to too much flour in the recipe and, sadly, dry and dense cookies.
For the most accurate measurement, weigh your flour using a kitchen scale. Use the nutrition facts on the back of the bag to calculate the weight of one cup.
- For example, for King Arthur Measure for Measure, 4 tablespoon = 31 grams. So, 1 cup (16 Tbsp) = 124 grams (31g x 4).
If you don't own a kitchen scale, use the "spoon and level" method to measure gluten-free flour. Use a spoon to gently fill the measuring cup with flour until it is heaping. Then, use the back of a knife to scrape the excess flour off the top and back into the flour bag.
Gluten-Free Sugar Cookie Decorations
- Easy Homemade Icing: Use a fork or small whisk to mix powdered sugar and milk, creating a thick glaze to drizzle on the cookies. Divide the icing between three small bowls. Add 1-4 drops of red food coloring gel to one bowl of icing and green food coloring gel to another bowl. Keep the third bowl of icing white (or color as you wish). Scoop and spread the icing on the cookies with a small spoon or pipe it on using icing decorating bottles.
- Storebought Cookie Icing: Betty Crocker Cookie Icing is labeled gluten-free.
- Sprinkles: Make sure your sprinkles are gluten-free. Most (not all) Betty Crocker Sprinkles are labeled gluten-free, and there is a wide variety of seasonal shapes and colors, including sugar sprinkles, rainbow nonpareils, stars, pearls, cinnamon imperials, gold gems, and more.
Gluten-Free Note: Check the labels on your icing and sprinkles to confirm they are gluten-free!
Check out these gluten-free heart cookies (chocolate-dipped) for more decorating inspiration.
How to Make Gluten-Free Sugar Cookies
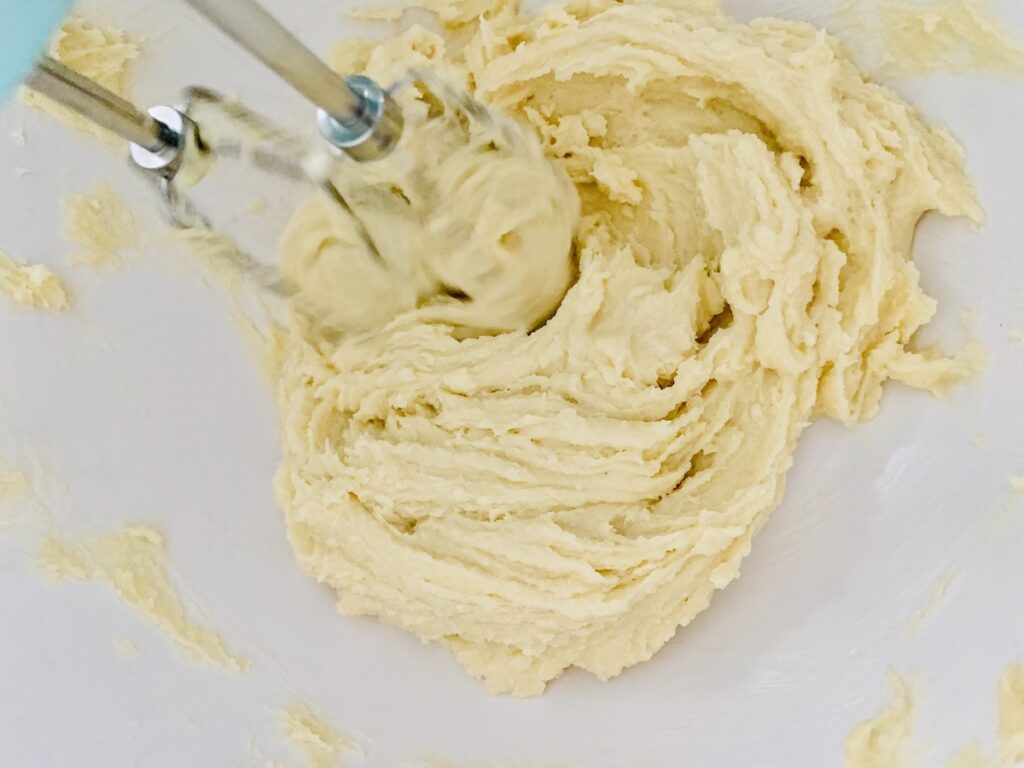
Step 1: Cream Butter & Sugar, and Add Wet Ingredients
In a large mixing bowl, cream sugar, butter, and butter-flavor shortening with a hand mixer on medium speed until fluffy, about 3 minutes.
Use a spatula to scrape the sides of the bowl as needed, so the ingredients are evenly blended.
Add the vanilla and egg and beat until smooth. Your batter will be the texture of thick frosting.

Step 2: Mix in Dry Ingredients
Mix in gluten-free flour, baking powder, and salt until evenly mixed. To accurately measure your gluten-free flour, scoop the flour into the measuring cup with a spoon, then level off the excess with the back edge of a knife.
After mixing the dry ingredients with the wet ingredients, the gluten-free mixture will appear crumbly. Don't worry, it will hold together perfectly when pressed together.
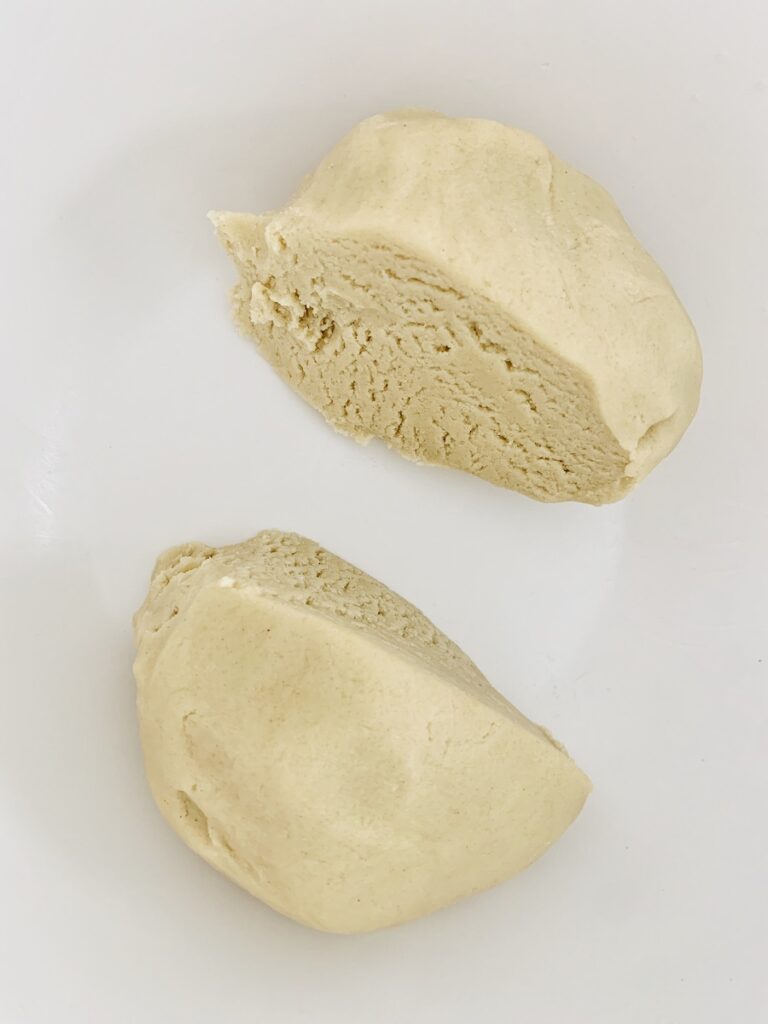
Step 3: Form and Chill Dough
Press the dough together to form a ball. Then, cut the ball in half. Wrap each half in plastic wrap or place in an airtight container. I use a large bowl with a lid.
Refrigerate the dough for 1 hour.

Step 4: Preheat Oven & Prep Supplies
Preheat oven to 375℉. This hot temp is also key to preventing the cookies from spreading, maintaining the cut-out shapes, and giving you a softer finished cookie. Yum!
Prepare 2 cookie sheets. For easy cleanup, cover the cookie sheets with silicone baking mats or parchment paper. Set aside.
Leave half the dough in the fridge to keep chilled.
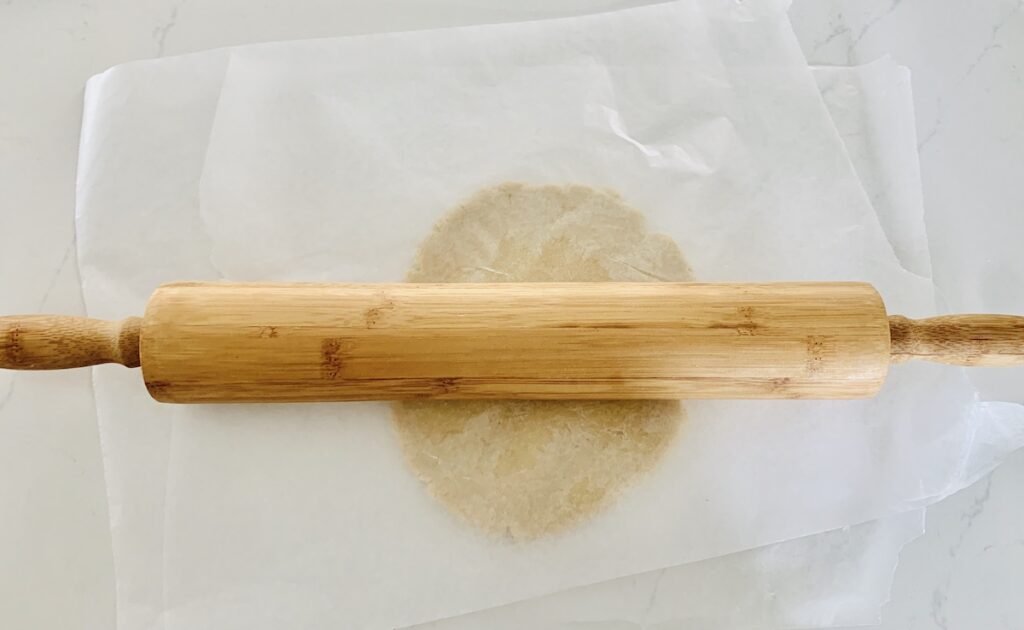
Step 5: Roll out the Dough
Roll out the other half of the dough to ¼ inch thick.
To prevent the dough from sticking to your work surface and rolling pin, 1) lightly flour the work surface with a dusting of gluten-free flour, or 2) roll the dough out between two sheets of parchment paper.

Step 6: Cut Out Gluten-Free Sugar Cookies
Get out the cookie cutters and tell Alexa to "Play Christmas music!"
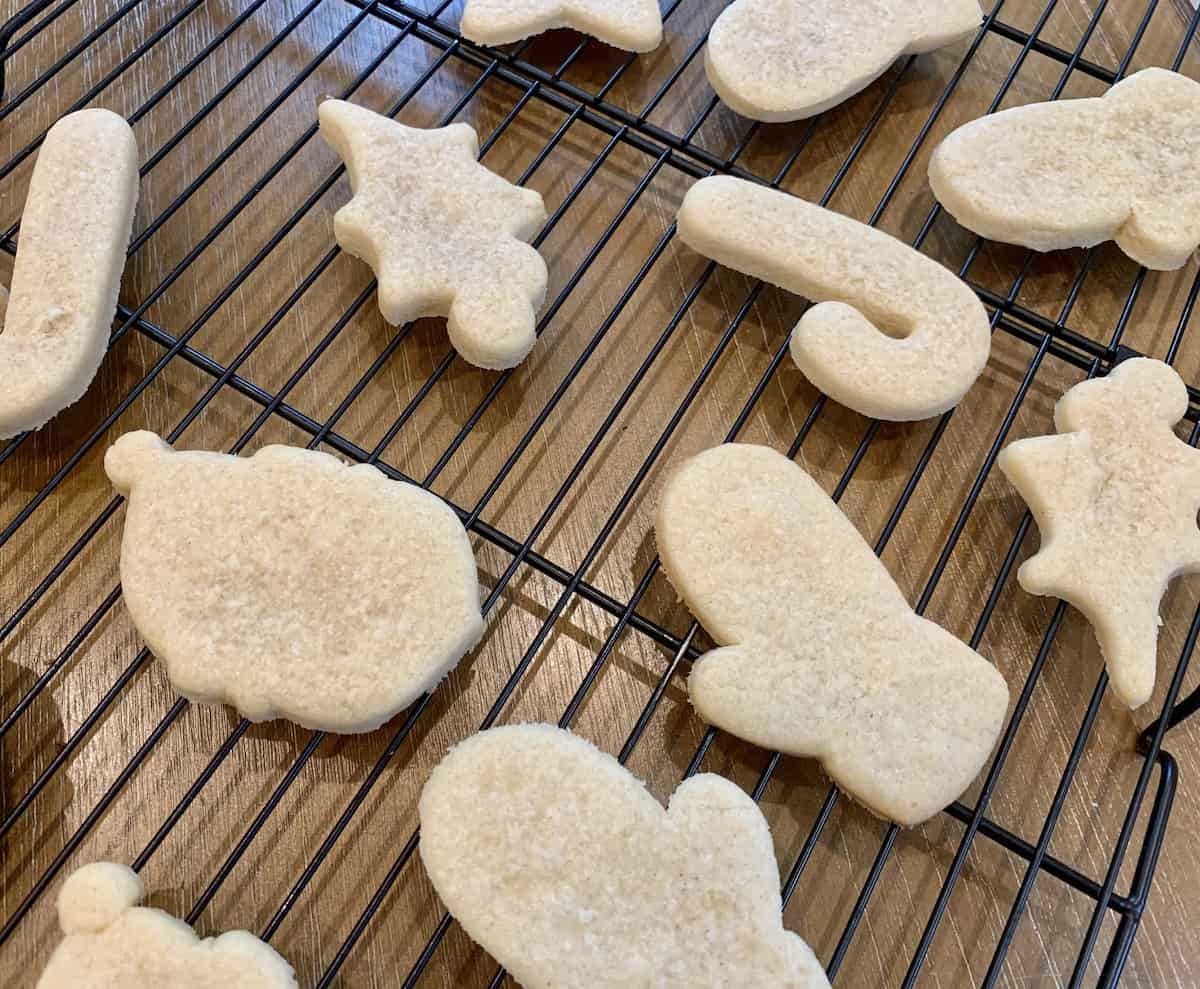
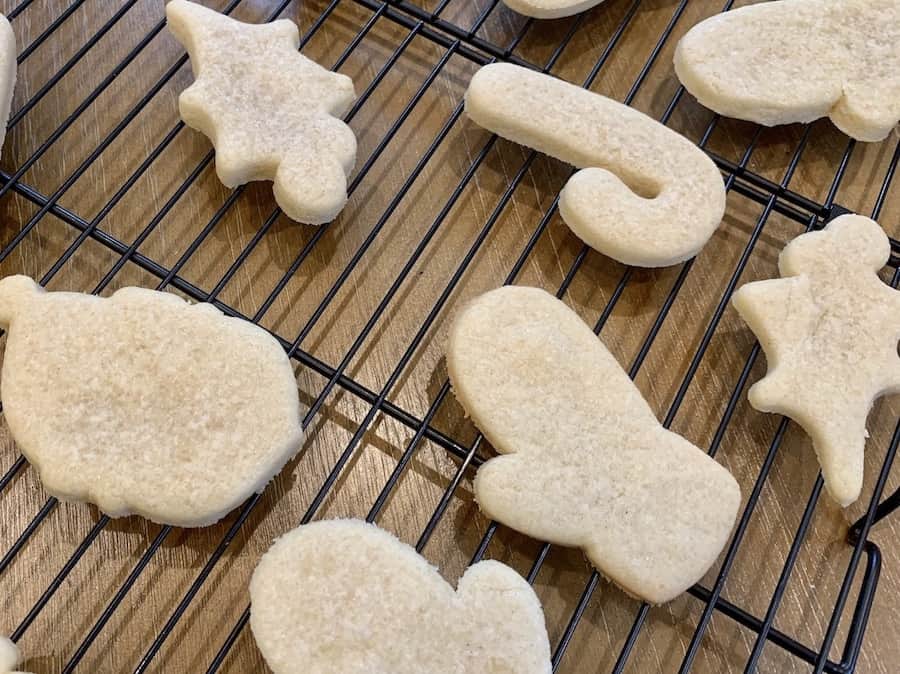
Use your favorite cookie cutters (approximately 2-3 inches in size) to cut out seasonal shapes, from Christmas trees to snowflakes.
Place the cut-out cookies approximately 1 inch apart on the prepared baking sheets.
Step 7: Bake
Bake the cookies at 375℉ for approximately 7-8 minutes until the edges are barely golden. Keep an eye on the cookies, as you don't want to overcook them. We're going for soft cookies!
Allow the cookies to rest on the baking sheet for two minutes before moving, to prevent breaking. If a cookie breaks, I highly recommend you give it a taste test! You practically have no other option;)
Use a wide-based turner spatula to carefully transfer the cookies to a wire rack. Let them cool completely, approximately 12 minutes, before decorating.
Repeat steps 5-7 with the second half of the dough.

Step 8: Decorate
Decorate with easy homemade icing or store-bought cookie icing. Let the icing harden for approximately 30 minutes before serving. Of course, waiting is not always possible when you have little hands doing the cookie decorating.
Storage
Raw Cookie Dough: The cookie dough can be stored in the refrigerator for two to four days or in the freezer for up to two months. If frozen, defrost in the refrigerator 24 hours prior to making cookies. Reminder: Raw cookie dough is unsafe to eat.
Baked Cookies: Gluten-free cookies dry out faster than those made with traditional all-purpose flour. Store these gluten-free sugar cookies (frosted or unfrosted) in an air-tight container at room temperature. While they last will last about five days; the texture is best if eaten within two days.
Freezing Cookies: If making ahead, store unfrosted cookies in the freezer for up to three months. Remove from the freezer at least two hours before serving. Frost and enjoy, ideally within two days.
Do not store the cookies in the fridge, as this will dry them out faster.
Gluten-Free Cookie Dough Tips

Practical tips and tricks for working with gluten-free cookie dough:
- Measure your gluten-free flour correctly. Follow my earlier tips for measuring gluten-free flour by weight with a kitchen scale or with the spoon and level method.
- Chill the dough. Refrigerating the dough for one hour serves two purposes. 1) It prevents the cookies from spreading so they maintain their cutout shape (true for gluten-full and gluten-free cookies alike). 2) It allows the gluten-free flour time to hydrate, creating a softer cookie.
- Let the dough sit out (if needed). If the dough is too firm to roll out, let it sit for a few minutes at room temperature, just until it is workable.
- Use parchment paper. Try this tip if you are having difficulty lifting the cookie cutouts to place on the cookie sheets. Use cookie cutters to cut shapes. Then, remove the extra dough from between the shapes. Gently peel away the parchment paper from the back of the cut-out dough and place the cookies on the baking sheet.
- Chill the dough again. If you are filling up cookie sheets faster than you can bake them, store the ready-to-go baking sheets in the fridge. This will allow the dough to firm up again, so you'll get softer cookies with well-formed shapes.
Frequently Asked Questions
Yes! You have a few make-ahead options. Make the gluten-free sugar cookie dough ahead and store it in the refrigerator for up to four days or in the freezer for up to two months. Defrost the frozen dough in the refrigerator for 24 hours before rolling out the dough. Or bake the cookies and store them (decorated or undecorated) in an airtight container at room temperature for 2-5 days (ideally just up to 2 days for the best texture). You can also freeze baked, undecorated cookies for up to three months.
Use a good gluten-free flour blend with xanthan gum as a binder, and measure the flour with a kitchen scale or by using the "spoon and level method". Let your dough rest in the fridge for an hour to help the cookies hold their shape and prevent the grittiness often associated with gluten-free baked goods. Rest the baked cookies on the baking sheet for two minutes before moving to a cooling rack, so the inside continues to cook at a low temperature, giving the cookies a firm structure that prevents breakage and soft texture.
Use a one-to-one gluten-free replacement flour that contains a blend of flours designed to mimic traditional wheat flour. Pick a flour that contains xanthan gum, an important binder that gives structure and elasticity to gluten-free baked goods, qualities that gluten would otherwise provide to wheat-containing baked goods. Popular flours are Cup for Cup, Bob's Red Mill 1 to 1, and King Arthur Measure for Measure, with the latter being my favorite due to this celiac mom's opinion of the ingredients and years of testing it in gluten-free baking.
Gluten-free baked goods take longer for the internal structure to set. Leaving the cookies on the baking sheet for two minutes allows the inside of the cookies to cook a little more at a low temperature, giving them a softer, chewier texture. It also allows them to firm up, preventing the gluten-free cookies from crumbling and breaking.


I hope you love these Gluten-Free Sugar Cookies as much as we do! If you give it a try, please leave a comment and star rating below. I'd love to hear from you!

Gluten-Free Sugar Cookies
Equipment
- Silicone Baking Mat or parchment paper
- cookie icing bottles (optional, if using homemade icing)
- Kitchen Scale to measure flour (or use spoon and level method)
Ingredients
- ¾ cup sugar
- ½ cup butter room temperature
- ½ cup butter-flavor shortening
- 2 teaspoons vanilla extract
- 1 egg room temperature
- 2 cups Gluten-free 1-to-1 replacement flour containing xanthan gum (King Arthur Measure for Measure recommended)
- ¾ teaspoon baking powder
- ¼ teaspoon salt
Decorations
- gluten-free sprinkles
- gluten-free cookie icing or make Easy Icing Recipe below
Easy Icing Recipe (optional)
- 2 cups powdered sugar
- 3-4 tablespoons milk
- gel food coloring
Instructions
- In a large bowl, cream sugar, butter, and shortening with a hand mixer on medium speed until well-blended and fluffy, approximately 3 minutes. Add vanilla and egg and beat until smooth.
- Mix in gluten-free flour, baking powder, and salt. The mixture will be crumbly.
- Press dough together to form a ball. Cut in the in half, wrap each half in plastic, or place in an airtight container. Refrigerate for 1 hour (up to two days).
- Preheat oven to 375℉. Prepare 2 baking sheets: cover with a silicone baking mat or parchment paper. Set aside.
- Leave half the dough in the fridge and roll out the other half to ¼ inch thick. To prevent sticking, lightly flour the work surface or roll the dough between two sheets of parchment paper.
- Use 2-3" cookie cutters to cut out shapes. Place 1-inch apart on the prepared baking sheets.
- Bake at 375℉ for approximately 7-8 minutes until the edges are golden. Allow to cool on the baking sheet for two minutes. Carefully transfer to a cooling rack until completely cool, approximately 12 minutes.
- Repeat steps 5-7 with the remaining refrigerated cookie dough. Tip! If you have baking sheets ready to go with cookie cut-outs, keep them in the refrigerator until ready to bake. This will prevent the cookies from spreading while baking.
Decorate
- Easy Cookie Icing: Use a fork or small whisk to mix powdered sugar and milk, creating a thick glaze to drizzle on the cookies. Divide icing between three small bowls. Add 1-4 drops of red food coloring gel to one bowl of icing and green food coloring gel to another bowl. Keep the third bowl of icing white. (or color as you wish)
- Decorate with cookie icing and sprinkles. Let icing harden for approximately 30 minutes before serving.


Joyce says
Can I use butter instead of shortening?
GoGlutenFreely says
Joyce, I have not tested these with butter replacing the shortening, but I think you could. If you do, try chilling the cutouts for about 10 minutes prior to baking, which should help reduce spreading (something the shortening helps with). Please let me know how they turn out!
Courtney says
Just want to say a quick thanks! This recipe was great! We did our annual neighborhood cookie party last night and I made these for the kids to ice and decorate. No one knew they were gf until I told my celiac son he could eat them. Will be my go to recipe for sure!
GoGlutenFreely says
Thank you for sharing your feedback, Courtney. I'm so glad your son was able to join in on the fun and that no one else could tell they were gluten-free!