These gluten-free gingersnap cookies are chewy, soft, and all you could ever want in a ginger cookie.
Your gluten-eating guests will never suspect they are eating anything other than the best traditional gingersnap cookie they have ever tasted!
This recipe is a gluten-free adaptation of a gluten-full gingersnap recipe from my college roommate, Nicole Jasa. An experienced baker, she has made countless chewy gingersnap cookies over the years. When she made these cookies in college, she could not keep them coming out of the oven fast enough. Nicole gave me all of her best tips for making and modifying her family recipe, so those of us living without gluten don't have to live without these amazing gingersnaps!
This easy recipe with simple ingredients makes a chewy, gluten-free gingersnap that may quickly become your favorite holiday cookie.
Some of the links on this post are affiliate links. To learn more, visit our Disclosures.
Simple Ingredients
If you have a gluten-free home, you probably already have most of these ingredients in your kitchen:
- Sugar
- Butter-flavored shortening
- Molasses
- Egg
- Gluten-free flour blend
- Xanthan gum (omit if already in your gluten-free flour)
- Baking soda
- Salt
- Ground spices: ginger, cinnamon, cloves, and nutmeg
Selecting Your Gluten-Free Flour for this Gingersnap Recipe
The recipe works best with a cup-for-cup gluten-free, replacement flour. I use and recommend the following (in order of my personal preference): King Arthur Gluten Free Measure for Measure Flour, Bob’s Red Mill Gluten Free 1-to-1 Baking Flour, and Cup4Cup Gluten Free Multipurpose Flour.
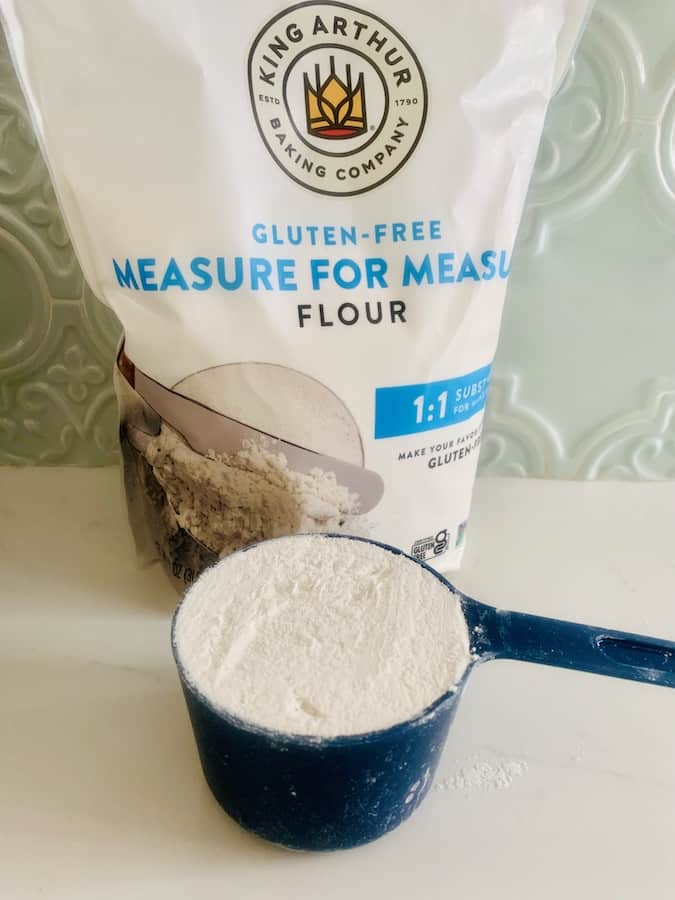
The above flours all contain xanthan gum, used as a binder, which is important for gluten-free baking. If you are using a different gluten-free baking flour blend, check the ingredients and be sure to add xanthan gum per the recipe directions, if your flour does not already contain it.
You'll get exceptional results with King Arthur Gluten-Free Measure for Measure Flour. I personally like the addition of sorghum and a vitamin and mineral blend in this flour. Plus, it does not have the grittiness you sometimes find in gluten-free flours. It is also dairy-free.
Many celiacs are sensitive to dairy. If you have a dairy-free diet, be sure to verify the ingredients of your gluten-free flour. Speaking of dairy-free...
Gluten-Free and Dairy-Free Gingersnaps

Great news! The original recipe already excludes dairy, so no worries here about giving up any flavor by using vegan butter in this recipe.
Use shortening, margarine, or a mix of the two. Do not use real butter, which will make the gingersnap cookies greasy. Even if you aren't avoiding dairy, for best results, do not use butter in this recipe.
Additionally, vegetable shortening or margarine will produce a cookie with more structure and a softer texture. These are especially important features when working with gluten-free dough.
Step-by-Step Directions
Cream shortening with 1 cup of sugar. I prefer to use my KitchenAid stand mixer. You can also use an electric hand mixer or even mix by hand.


If you want to splurge on a stand mixer, it is such a pricey kitchen appliance that it's worth holding out for Black Friday, Prime Day, or a holiday weekend like Memorial Day, Fourth of July, Labor Day, or Presidents Day.

Stir in molasses and beaten egg.
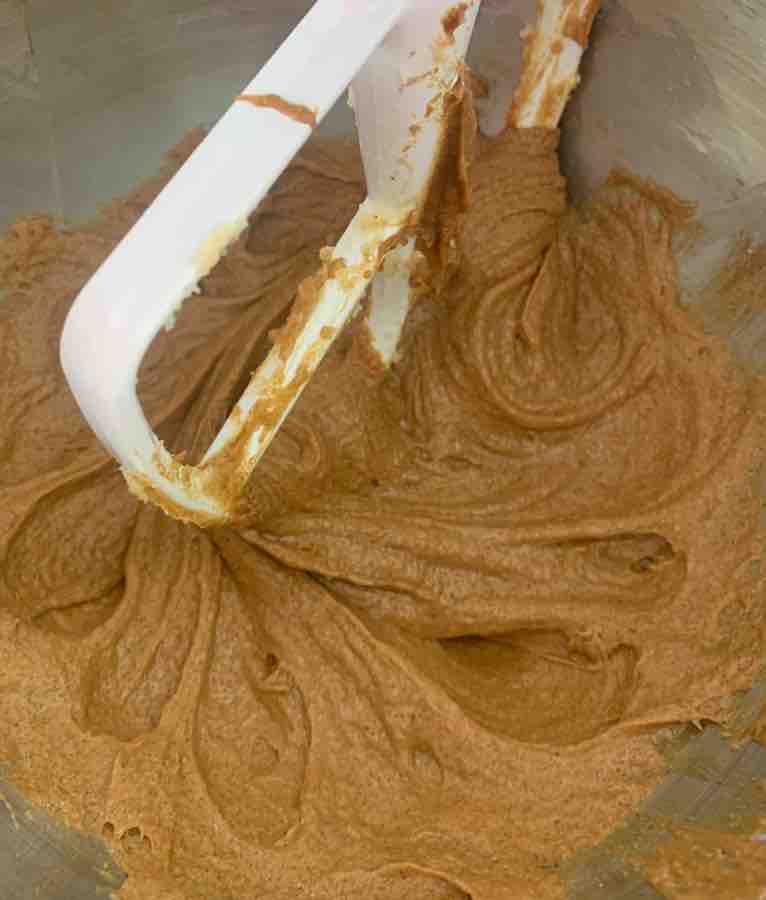
Add xanthan gum (if not already in your gluten-free flour). Also add baking soda, salt, ginger, cinnamon, cloves, and nutmeg. Blend well.
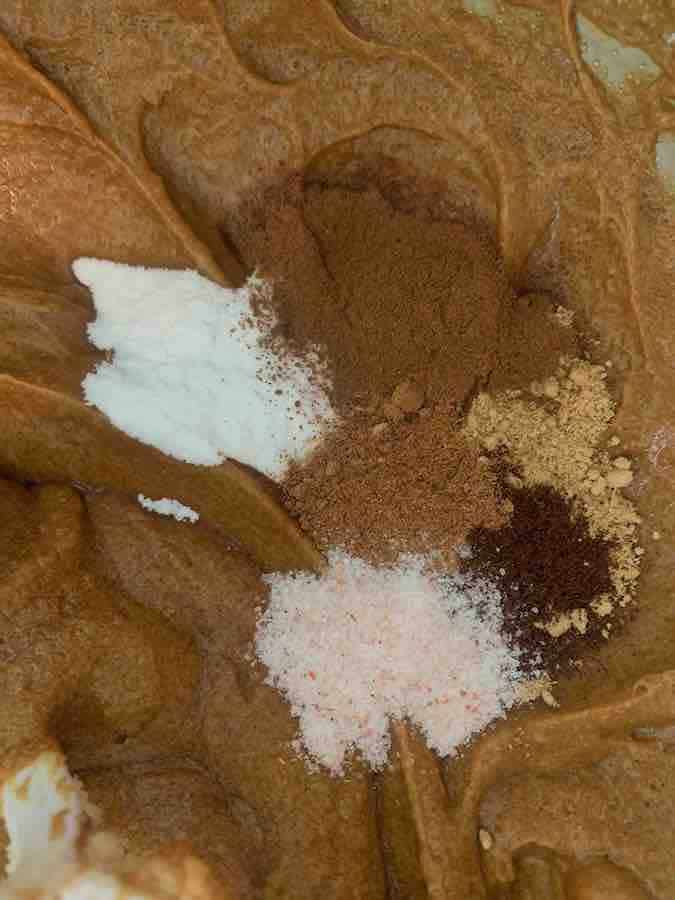
Add gluten-free flour and mix.
Tips for Working with Gluten-Free Cookie Dough
Mix the dough for a few minutes after combining all the ingredients. Overmixing is a concern with regular flour, but not so with gluten-free flour. The extra mixing will provide better structure and allow the gluten-free flour to absorb a little more liquid. This is where an electric hand mixer or stand mixer comes in handy.
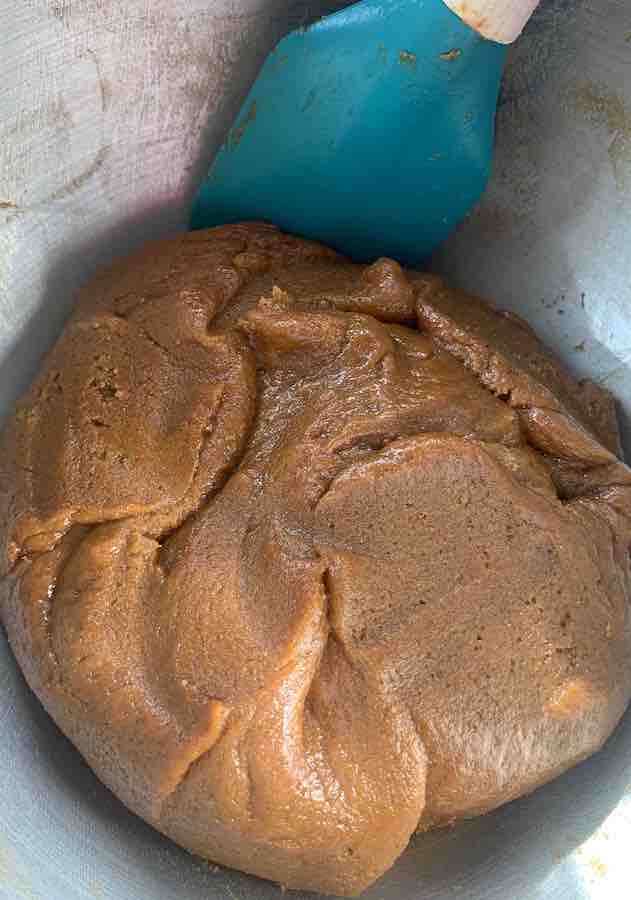
Chill dough for one hour in the refrigerator. Gluten-free cookie dough is stickier than traditional dough. Refrigerating the dough for an hour will make it easier to work with when forming cookies and rolling them in sugar. It also allows time for the flour to absorb the liquids in the recipe, creating a softer cookie.
Preheat oven to 350°. Prepare baking sheets with parchment paper or silicone baking mats.
Shape dough into 1" balls.
Tips for Forming Cookies
To avoid the dough becoming sticky while you are forming cookies, split the dough in half, working with half at a time and keeping the remaining chilled dough in the fridge.
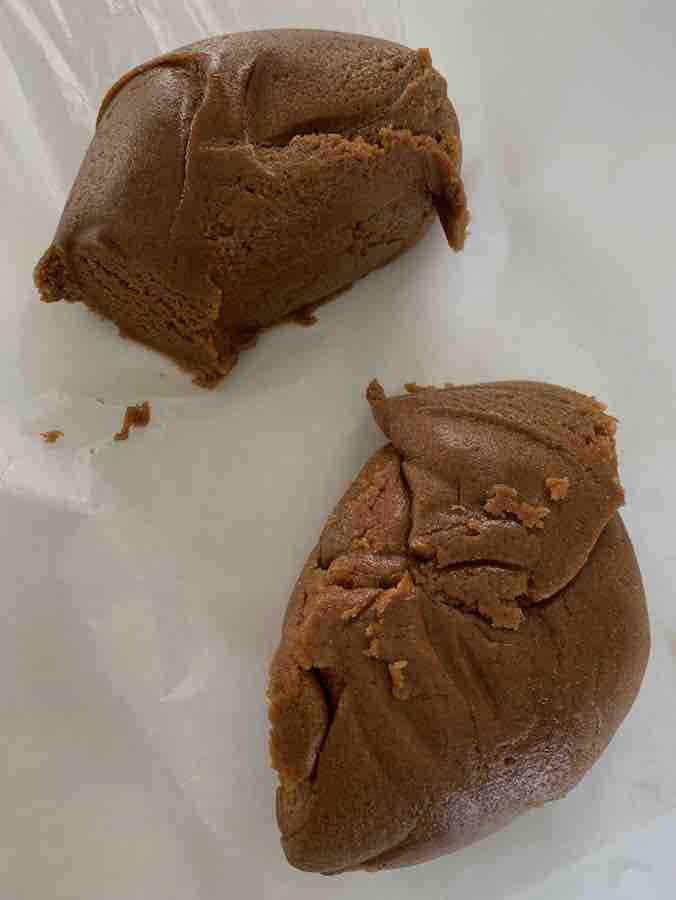
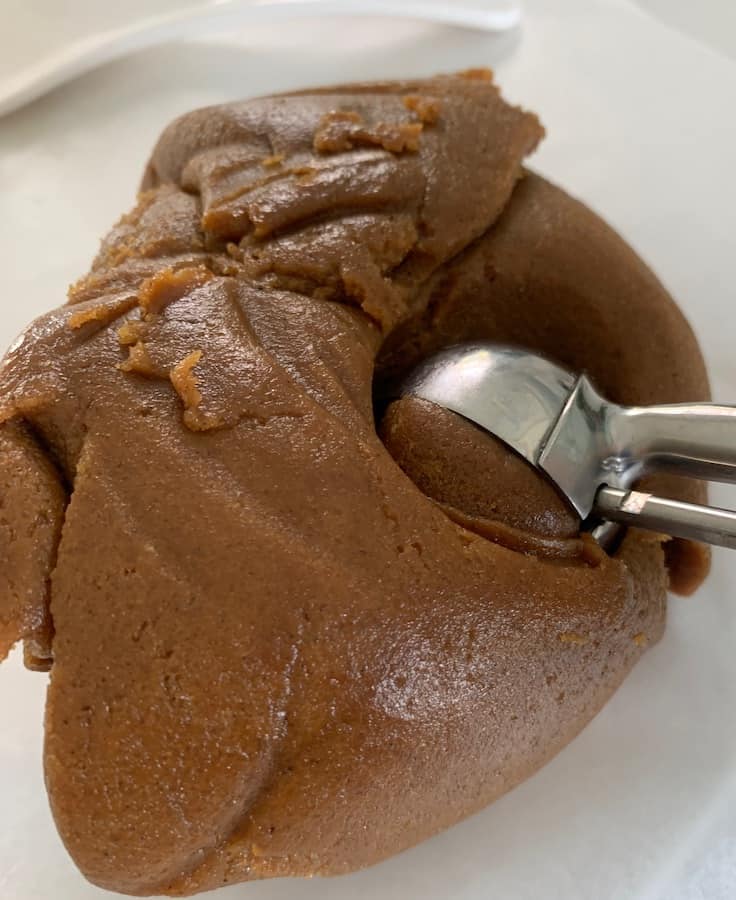
The cookies should be small, 1" round, about the size of a walnut in its shell. You can form the cookies by hand or optionally use a small cookie scoop.
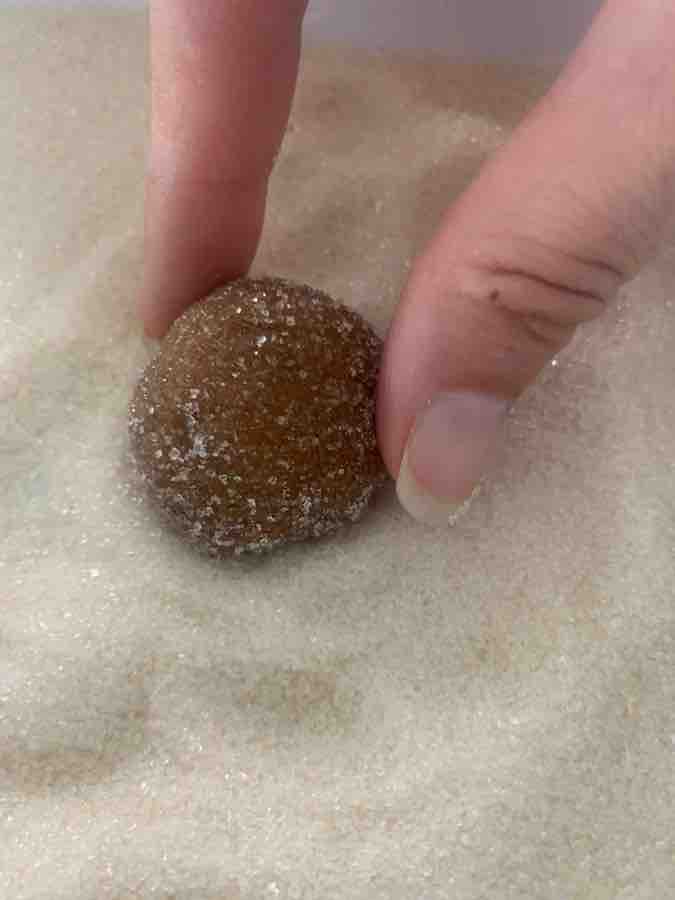
Place the remaining ½ cup of sugar in a small bowl. Roll formed 1" dough balls in the sugar to coat.
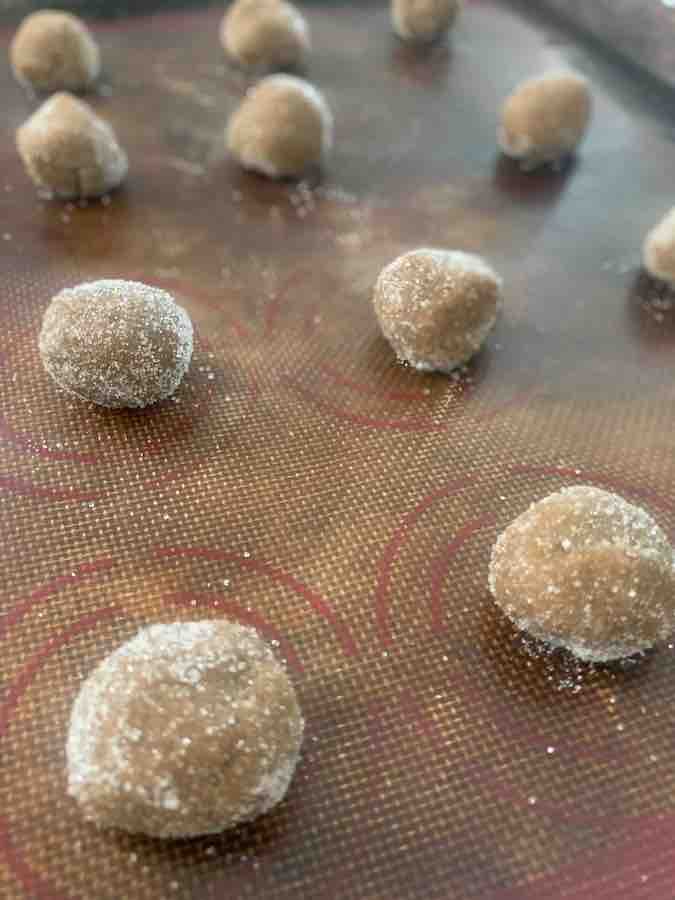
Place on prepared baking sheets and bake in the preheated oven for 10-12 minutes. I love chewy cookies, so I tend to bake closer to the 10-minute mark.
Because of the delicate nature of gluten-free cookies, allow the cookies to rest on the baking sheet for about two to three minutes before transferring them to cooling racks.

Make Ahead Tips
Can I Make My Gingersnaps Ahead? Yes! You can make these gluten-free gingersnaps ahead. Depending on how far in advance you want to make them, you can store your make-ahead cookies at room temperature or in the freezer.
Store your gingersnaps in an airtight container to maintain moisture. According to the USDA, cookies can be stored at room temperature for two to three weeks. Although, I seriously doubt they will last that long without being eaten!
Do not store them in the refrigerator, or your gingersnaps will dry out. This is especially important for gluten-free cookies. To maintain their fabulous texture, borrow a page out of the professional bakery playbook and...
Freeze your gluten-free gingersnaps for up to three months. Let your fresh baked gingersnaps cool to room temperature, then freeze them on baking sheets. Once the gingersnaps are firm, move them to an airtight container or freezer bag and freeze them for up to three months. Remove from the storage container to defrost.
Even better... freeze the dough! Then you will have warm, fresh, gluten-free gingersnap cookies with all of their delicious flavor whenever you want. Form the 1" gingersnap dough balls, but do not roll them in sugar before freezing. Similar to the already baked gingersnaps, freeze the cookie dough on baking sheets for at least four hours, and then transfer the dough to freezer bags. Use within three months.
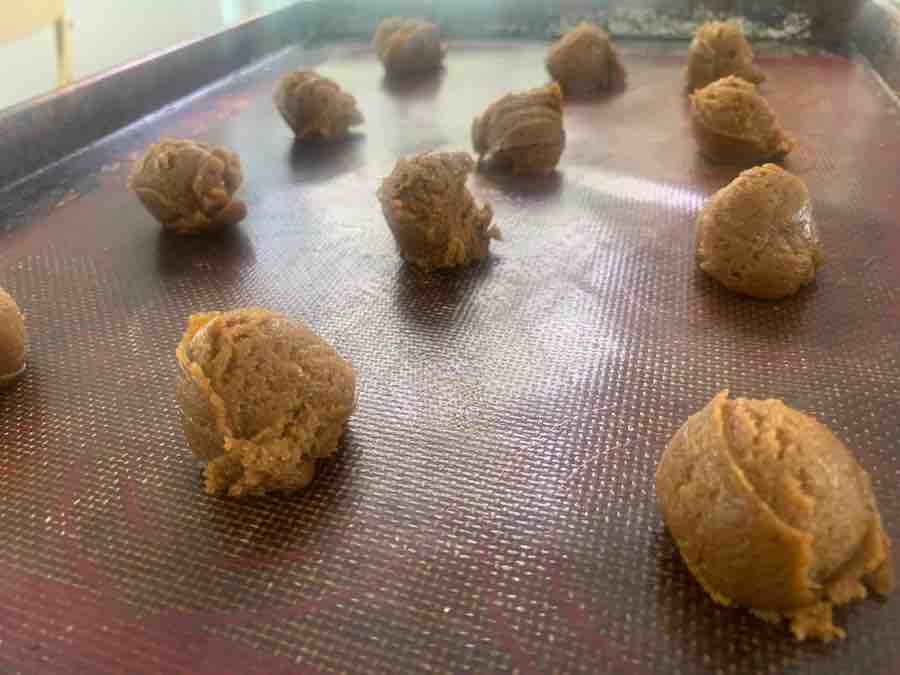
When you are ready to bake your gingersnaps, defrost the dough balls spaced out on a cookie sheet or parchment paper for about thirty minutes before rolling in ½ cup of sugar. Then bake according to the recipe. Important! Because of the raw egg in the recipe, do not defrost the raw cookie dough balls for more than an hour at room temperature.
For a low-carb, sugar-free version, check out this recipe for Chewy Ginger Molasses Cookies.
More Gluten-Free Holiday Treats!
- Soft Gluten-Free Christmas Sugar Cookies
- Traditional Gluten-Free Candy Cane Cookies
- 20 Best Gluten-Free Christmas Cookie Recipes
- The Gluten-Free Gingerbread House Solution: Gingerbread House Bundt Cake
Enjoy your gingersnaps!

The Best Gluten-Free Gingersnaps Recipe
Ingredients
- 1½ cups sugar (reserve ½ cup for rolling formed cookies)
- ¾ cup butter-flavored shortening
- ½ cup molasses
- 1 egg (beaten)
- 1½ teaspoons baking soda
- ½ teaspoon salt
- 1½ teaspoons ground ginger
- 1 teaspoon ground cinnamon
- ½ teaspoon ground cloves
- ¼ teaspoon ground nutmeg
- 2 cups gluten-free flour blend I use King Arthur Gluten Free Measure for Measure Flour (Add ½ teaspoon of xanthan gum, if your flour does not already contain it.)
Instructions
- Cream shortening with 1 cup of sugar. (reserve ½ cup of sugar for rolling formed cookies in step #7)
- Stir in molasses and beaten egg.
- Add remaining ingredients, except gluten-free flour and ½ cup sugar, and blend well.
- Add gluten-free flour and mix. If using a stand or hand mixer, mix the dough for an additional 2-3 minutes after the ingredients are fully mixed for the best results.
- Chill dough in the refrigerator for one hour.
- Preheat oven to 350℉. Prepare baking sheets with parchment paper or silicone baking mats.
- Place the remaining ½ cup of sugar in a small bowl. Shape dough into 1-inch balls, about the size of a walnut in its shell. Roll in the sugar to coat.
- Place on prepared baking sheets and bake in the preheated oven for 10-12 minutes. Let rest on baking sheet for 2-3 minutes before transferring to cooling racks.


