Many years ago, I hosted a Weight Watchers Thanksgiving. I'm embarrassed to admit that I served my unfortunate guests "pumpkin flan" for dessert.
Sadly, it turns out that pumpkin flan is simply crustless pumpkin pie, which I discovered far too late to fix.
Why would somebody do that to pumpkin pie?!
Fast forward to my life with celiac disease. That Thanksgiving fiasco taught me an important lesson that I now needed: pumpkin pie absolutely must have a crust.
Over the years I have perfected a wonderful flaky, buttery crust that I use for all of my gluten-free pies.
It pairs beautifully with this decadent, creamy pumpkin pie filling, packed with your favorite fall spices and flavors.
Unlike that laughable Thanksgiving years ago, this gluten-free pumpkin pie recipe gets rave reviews like "best pumpkin pie I've ever had."
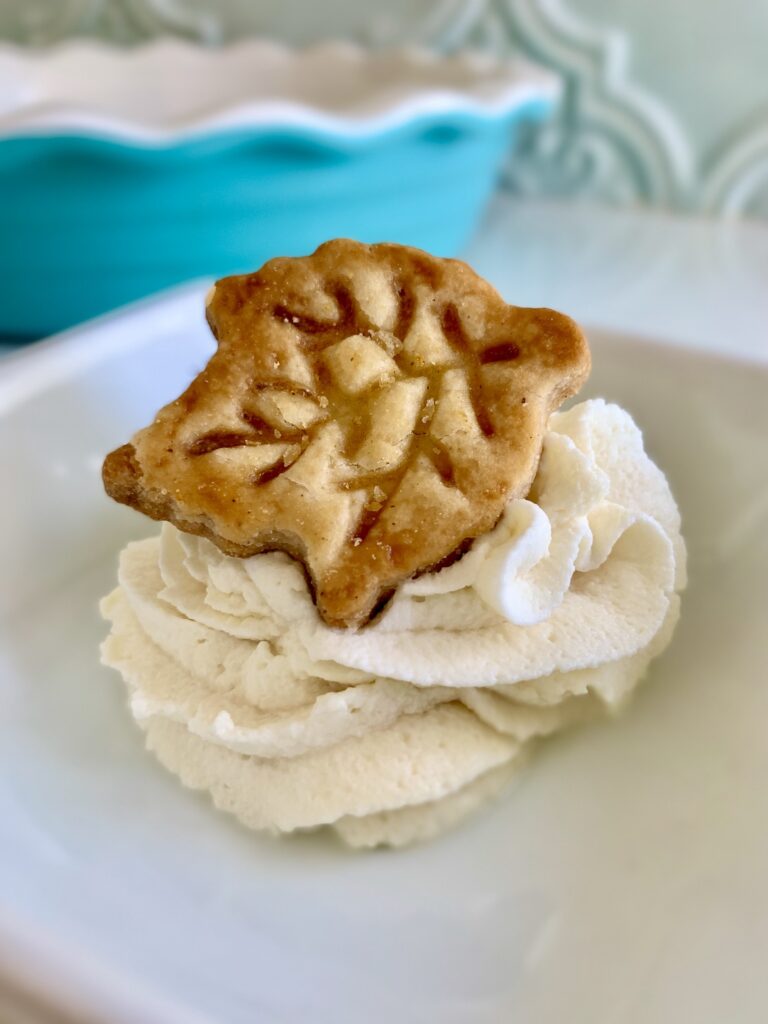
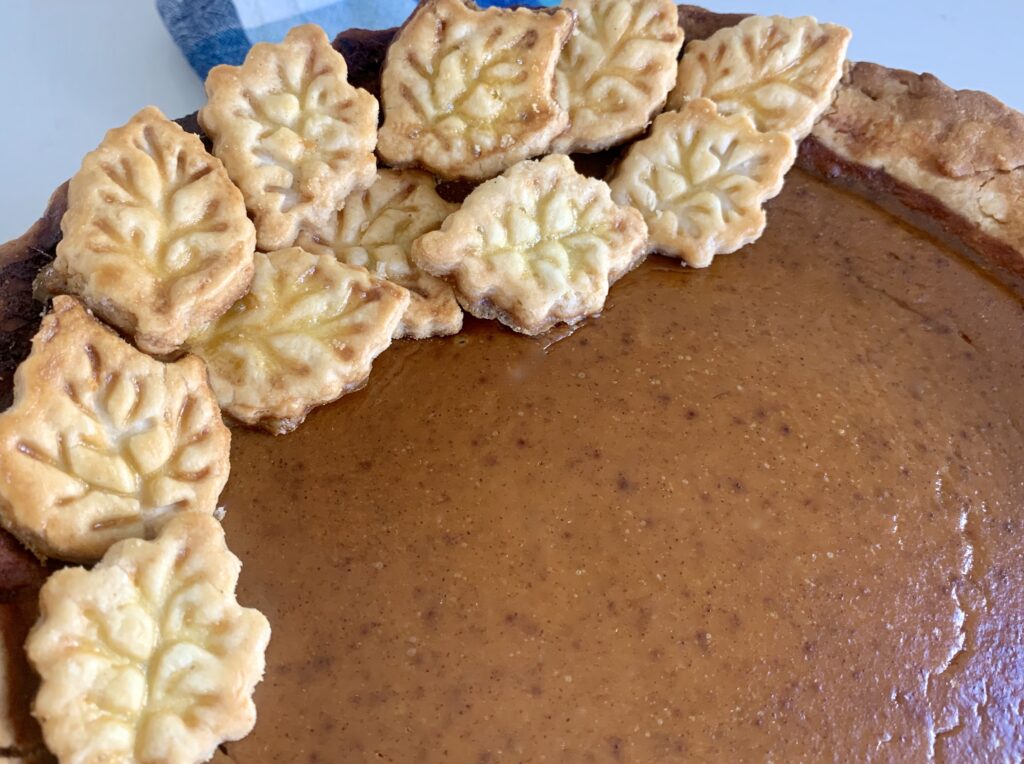
Your guests will love the amazing taste and beautiful rustic appearance with decorative leaf cutouts. You'll love how truly easy it is to bake.

Some of the links on this post are affiliate links. To learn more, visit our Disclosures.
Supplies
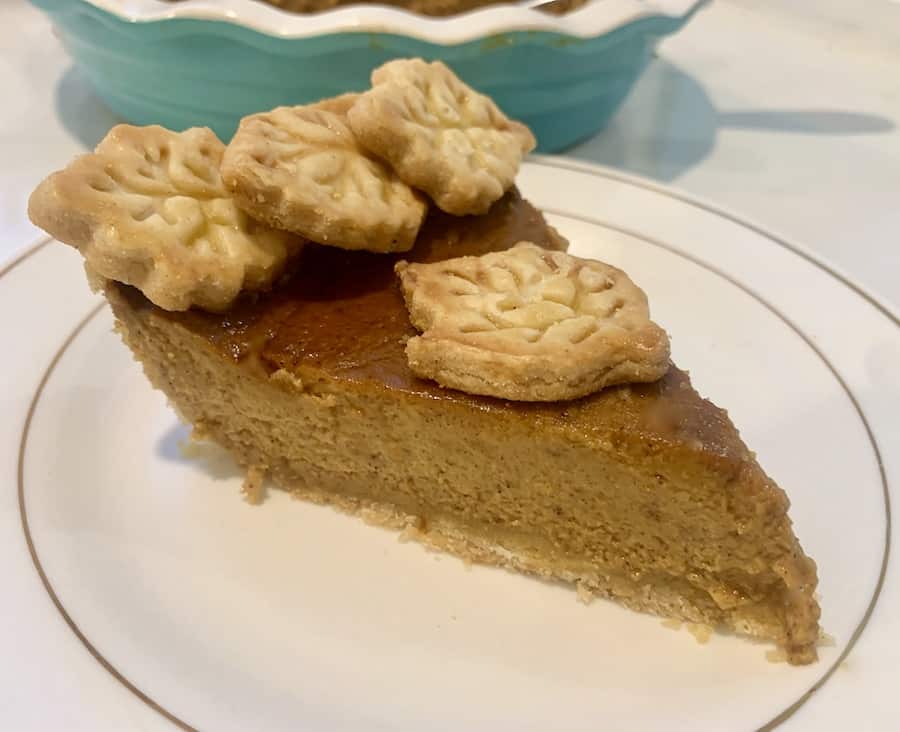
9-10" Pie Pan: Pictured in this recipe is my 9.5" teal Farberware pie pan, which is reasonably priced and charming.
Pastry Cutter for mixing the pie dough
Rolling Pin for rolling out the pie dough
Parchment Paper or Silicone Baking Mat for rolling out the pie dough
Leaf Pastry/Cookie Stampers to cut out decorative leaf shapes
Baking Sheet
Small and Large Mixing Bowls
Pastry Brush to brush crust edges and leaf cutouts with egg wash (optional)
Pie Shields or Aluminum Foil to protect the edges of the crust from burning
Whisk for mixing pumpkin pie filling
Ingredients

Gluten-Free Pie Dough
This Homemade Gluten-Free Pie Dough takes about ten minutes to make and requires only four ingredients: unsalted butter, King Arthur Measure for Measure Gluten-Free Flour, salt, and ice cold water. It makes a delicious flaky pie crust that no one will ever know is gluten-free.
In place of the King Arthur flour, you can substitute another cup-for-cup gluten-free replacement flour that contains xanthan gum.
Once the pie dough is made, chill it for one hour before rolling out the crust.
The dough recipe makes enough for two gluten-free pie crusts. You'll use one to make the bottom crust and the other for leaf cut-outs to decorate the top of the pie.
If you opt to skip the leaf decorations, use the leftover pie dough to make a Gluten-Free Turkey Pot Pie.
Brown Sugar
The famous pumpkin pie recipe on the back of every can of Libby's Pure Pumpkin calls for regular sugar to sweeten the filling.
Instead, this recipe uses brown sugar, which simply tastes like Thanksgiving. The molasses in brown sugar compliments the pumpkin and spices in the filling, giving this pie a much more robust flavor than one made with white sugar.
Light or dark brown sugar will both work very well, but dark provides the most richness.
Spices & Seasonings
Cinnamon, ginger, and cloves are staples for pumpkin pie. While salt brings out the flavor of everything.
If you are concerned about gluten in your spices, I discuss the issue in my Spiced Cranberry Sauce Recipe.
Pumpkin Puree
100% pure pumpkin from a can is already pureed and smooth, ready to add to your filling mixture.
Libby's 100% Pure Pumpkin is labeled gluten-free. Be sure to grab the Pure Pumpkin, not the Pumpkin Pie Mix. The latter already has the spices added.
Evaporated Milk
It doesn't get much easier than canned pumpkin and canned evaporated milk. Both are often on sale and well-stocked during the holiday season.
I use Nestle Carnation Evaporated Milk, which, like Libby's Pure Pumpkin, is labeled gluten-free.
Eggs
Three eggs are just right to help the pumpkin pie set and give it a fabulously creamy consistency.
The fourth egg is purely aesthetic. It's beaten with water, making an egg wash that bakes into a beautiful, rustic finish for the leaf decorations and the crust.
Whipped Cream (optional)
I highly recommend Maple Whipped Cream. It takes five minutes and three simple ingredients: pure maple syrup, vanilla extract, and heavy whipping cream.
Or top with your favorite store-bought whipped cream. Reddi-Wip is labeled gluten-free.
Step-By-Step Instructions
Pie Crust & Decorative Leaves
Heat oven to 450℉. You'll want the oven nice and hot when you par-bake (partially bake) the pie crust before adding the pumpkin filling. That high heat allows the cold butter in the pie dough to quickly melt, leaving behind pockets of air and forming a flaky crust.
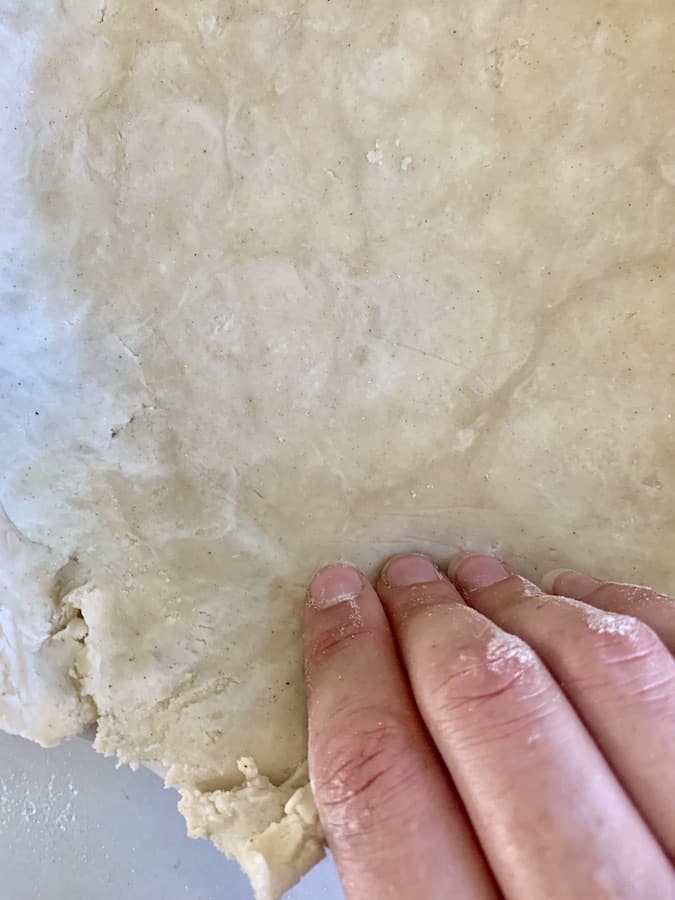
On parchment paper with a light dusting of flour, roll out the bottom pie crust to approximately 12". Keeping the rolled-out dough on the parchment paper, return it to the fridge while the oven preheats. This will help the butter in the dough to stay cold.
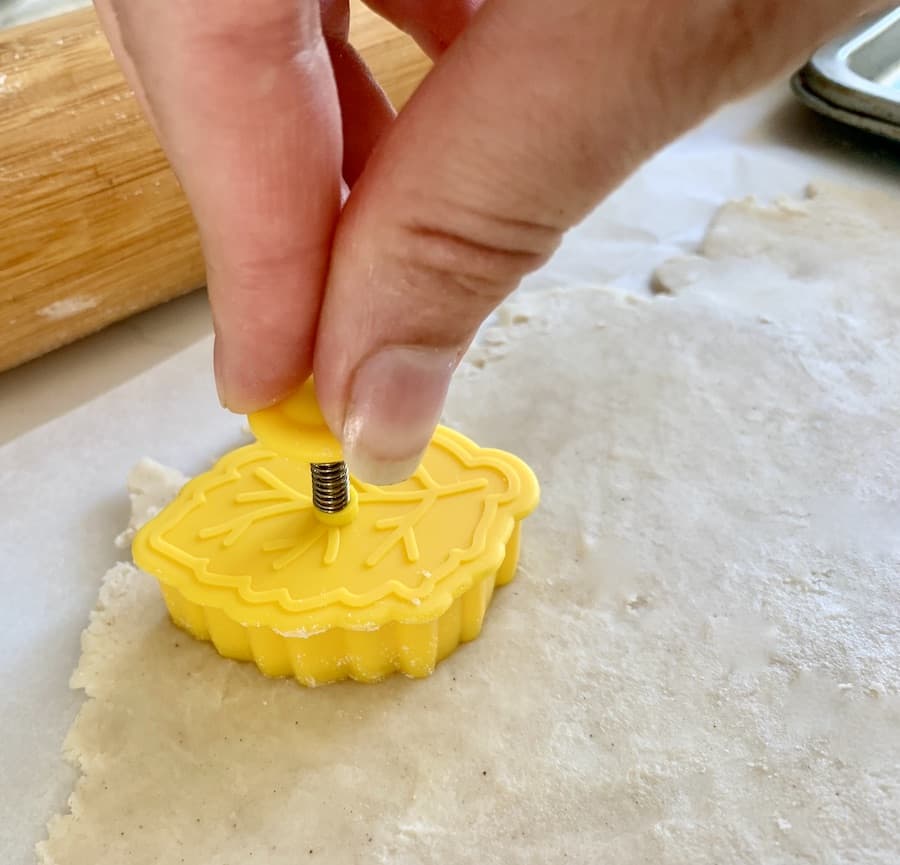
Roll out the second crust. Use cookie cutters to cut out 12 leaves, or other seasonal shapes.
Place the leaf shapes on a baking sheet lined with parchment paper and chill in the fridge. You'll pop them in the oven later when you are baking the pie at 350℉.
12 leaves are plenty to create a beautiful design on your pie, but make more or less as you wish. It's your masterpiece. Just 8 leaves are enough to place one on each pre-sliced piece of pie. Or make dozens to cover the entire pie.

After cutting out the leaves, leftover dough can be used in fun recipes like Mummy Hot Dogs or stored in the freezer for future use.
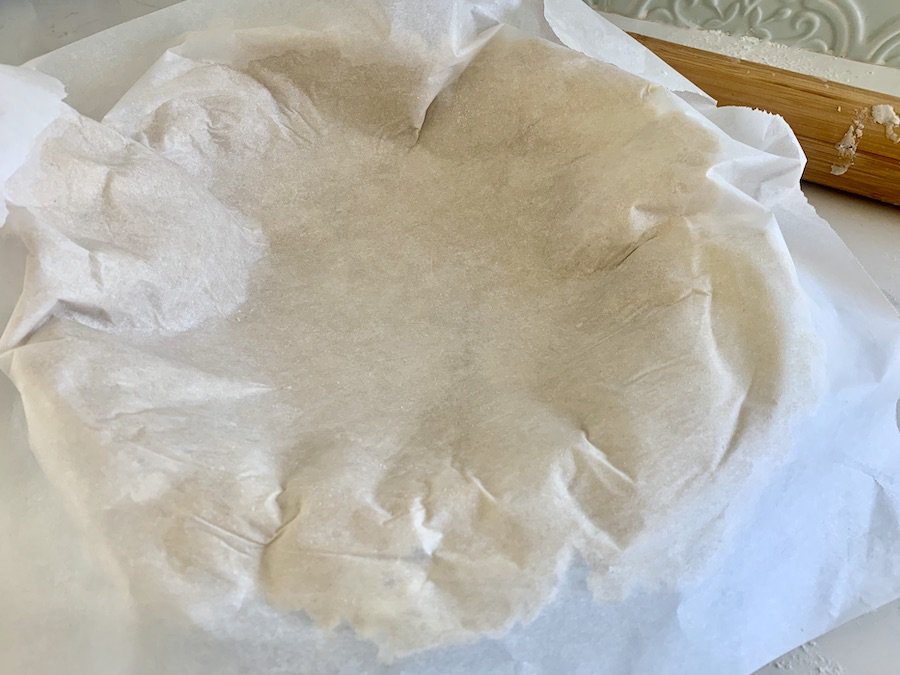
Once the oven is preheated, flip the bottom crust into a deep 9-10" pie pan. Carefully peel back and remove the parchment paper. Gently push the crust into the bottom edges of the pie pan to fill it completely.

Make a decorative edge. Fold the edges of the crust to create a tall thick border. Press the side of your pinky or thumb into the crust at an angle, repeating around the entire edge.
Gently dock the bottom of the crust with a fork, allowing air to escape to form a flaky crust.
If the holes are too wide, pie filling can seep through the crust. A delicate touch with the fork and the egg wash barrier (added later) work together to prevent that from happening.

Cover the edges with a pie shield, put the pie pan on a baking sheet for even heat conduction, and place in the lower third of the oven. The bottom of the crust will get the most direct heat near the lower part the oven.
Par-bake at 450℉ for 10 minutes.
When finished par-baking the crust, lower the oven temperature to 350℉.
Pie Filling
Prepare the pumpkin filling while the crust par-bakes.
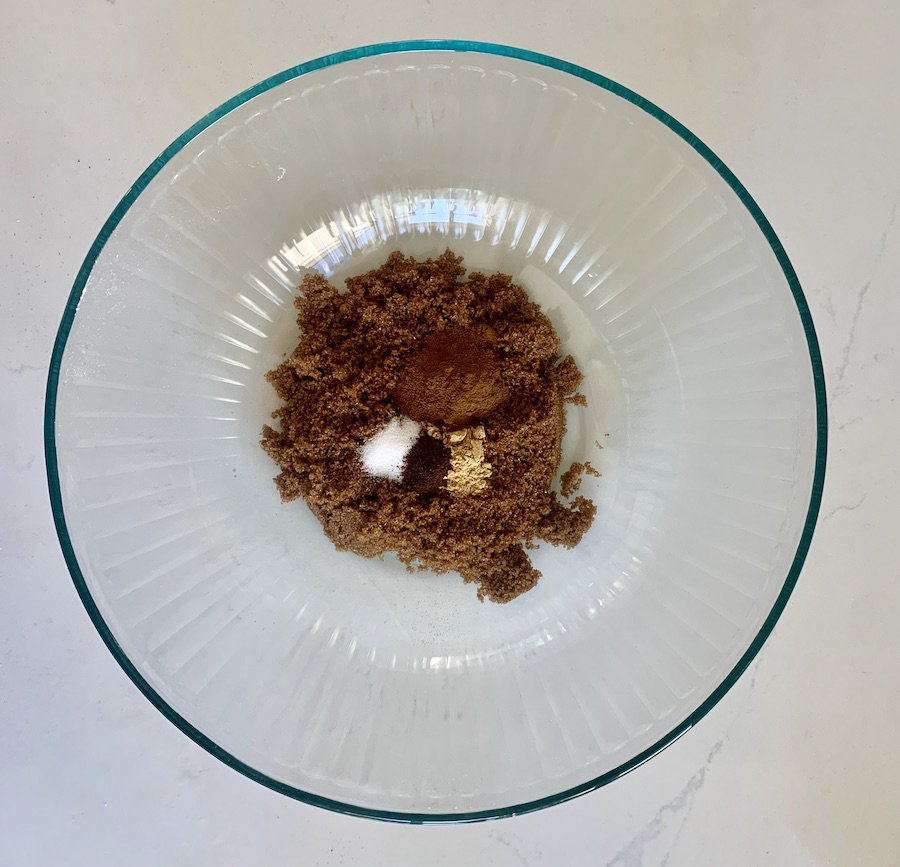
In a large mixing bowl, mix sugar, cinnamon, salt, ginger, and cloves.
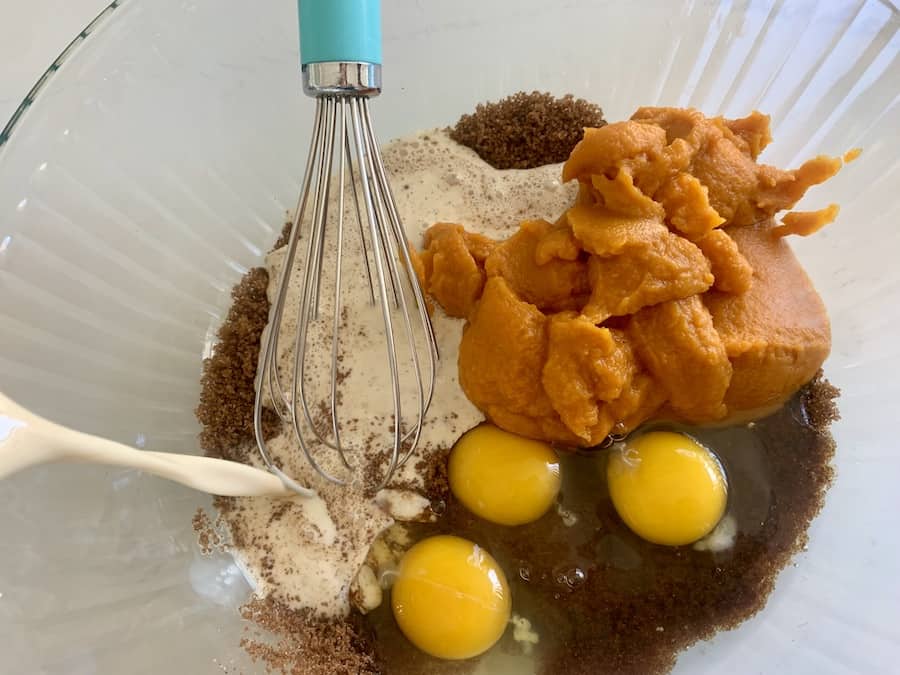
Add 3 of the eggs, pumpkin, and evaporated milk to the dry mixture. (Reserve one of the eggs for an egg wash.)
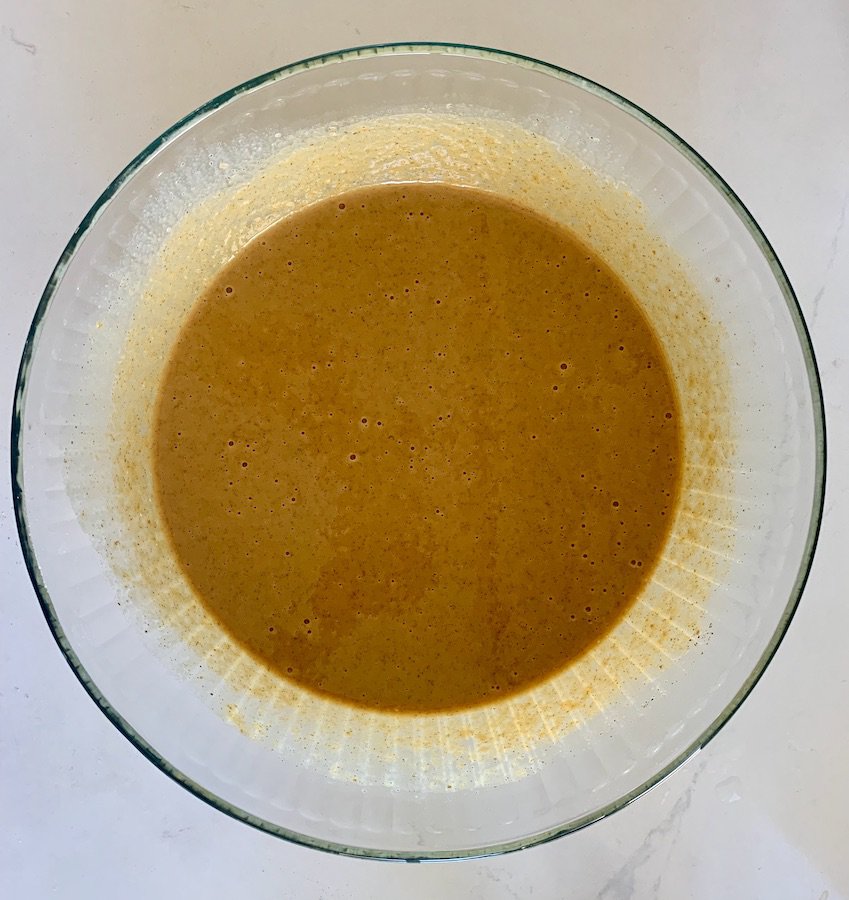
Whisk until well combined.
Egg Wash: In a small bowl, beat the remaining egg and water with a fork to make an egg wash. Use a pastry brush to lightly coat the crust and cut-out leaves with the egg wash.

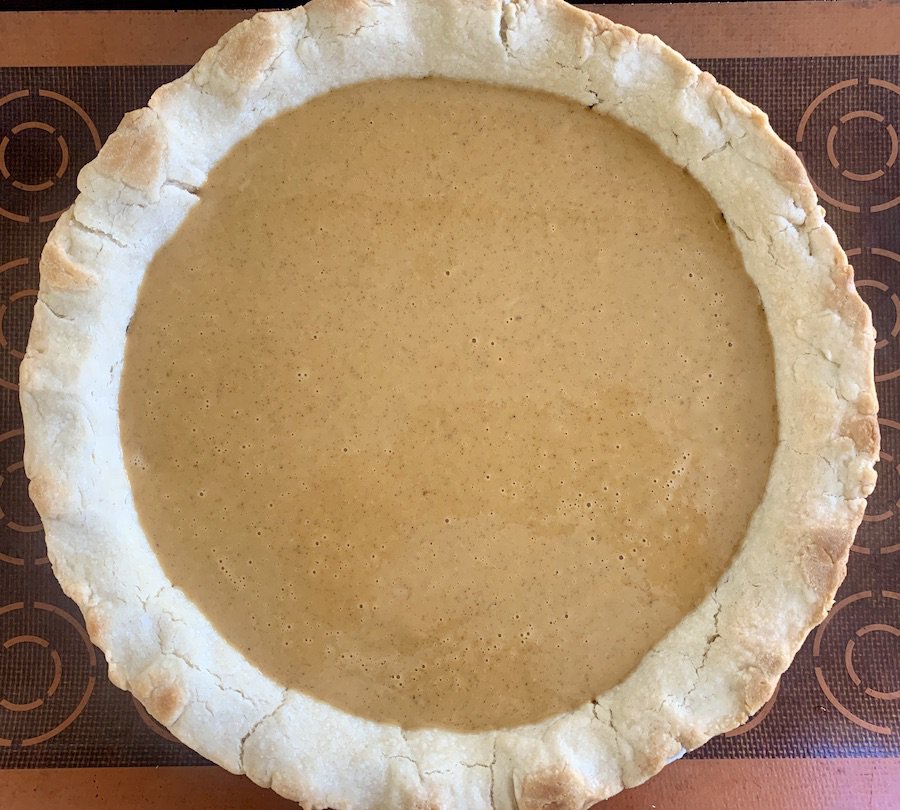
Pour the filling into the pie shell until ¾ full. Do not overfill.
Cover the edges of the pie with a pie shield. Bake for approximately 50-60 minutes at 350℉.
I always bake pies on a baking sheet lined with a silicone mat or parchment paper for even heat distribution on the base of the crust and for easy cleanup. Occasionally there is a spill or the filling bubbles over. The parchment paper is tossed or the baking mat washed... no oven scrubbing required!
While baking the pie at 350℉, place cut-out leaves in the oven and bake for approximately 15 minutes until golden. Cool on a wire rack.
Remove the pie shield for the last 15 minutes of baking.
The pumpkin pie is done when the filling is puffed and still slightly jiggly in the center when gently shaken, or when a knife inserted in the center comes out clean.
If you go for the knife test, you can easily conceal it later with one of the decorative leaves.
Remove the pie from the oven and let it cool completely on a wire rack for up to two hours.
Decorate with pie crust leaves. Use the leaves to create your own design or to cover up imperfections.
If not serving immediately, cover the pie with plastic wrap and store in the fridge until ready to serve.
Top with Homemade Maple Whipped Cream and enjoy!
Make-Ahead Options and Leftovers
Make this gluten-free pumpkin pie up to 3 days ahead. Just cover the pie with plastic wrap and store it in the refrigerator until ready to serve.
I highly recommend baking this pumpkin pie the day before Thanksgiving. It's so convenient to have a make-ahead dessert for busy holiday meals.
Other make-ahead options to take the pressure off of the big day include making the pie dough or parbaking the crust in advance. The raw dough or parbaked crust can be stored in the refrigerator for up to two days or in the freezer for up to 3 months.
Leftovers can also be stored in the refrigerator for up to 3 days after baking. They will likely disappear long before then!
Related Posts:
- 35 Gluten-Free Fall Desserts to Spice up the Season
- Pumpkin Cinnamon Rolls (gluten-free, dairy-free)
- Easy Gluten-Free Apple Galette Recipe
- Pumpkin Cheesecake Bars
- Homemade Maple Whipped Cream Recipe
- Guide to Simplify Your Gluten-Free Thanksgiving!


Gluten-Free Pumpkin Pie
Ingredients
- Homemade Gluten-Free Pie Dough Recipe makes 2 crusts (for bottom crust and decorative leaf cut-outs)
- extra gluten-free flour to roll out the pie dough
- ¾ cup brown sugar
- 1 teaspoon ground cinnamon
- ½ teaspoon salt
- ½ teaspoon ground ginger
- ¼ teaspoon ground cloves
- 4 large eggs room temperature, 3 for the pie filling and 1 for the egg wash
- 1 can Libby's 100% Pure Pumpkin 15 ounces
- 1 can Nestle Carnation Evaporated Milk 12 ounces
- 2 tablespoons water
Instructions
Prepare Pie Crust and Decorative Leaves
- Preheat oven to 450℉.
- On parchment paper with a light dusting of flour, roll out the bottom pie crust to approximately 12". Return rolled-out dough to the fridge while the oven preheats.
- Prepare Decorative Leaves: Roll out the second crust and use pastry/cookie cutters to cut out 12 leaves. Place leaf shapes on a baking sheet lined with parchment paper and chill in the fridge.
- Once the oven is preheated, flip the bottom crust into a deep 9-10" pie pan and remove the parchment paper. Gently push the crust into the bottom edges of the pie pan to fill completely.
- Make a decorative edge. Fold the edges of the crust to create a tall thick border. Press the side of your pinky or thumb into the crust at an angle, repeating around the entire edge.
- Par Bake the Bottom Crust: Dock the bottom of the crust with a fork. Cover the edges with a pie shield, put the pie pan on a baking sheet, and place in the lower third of the oven. Bake at 450℉ for 10 minutes in the lower third of the oven. When finished baking, lower oven temperature to 350℉.
Pie Instructions
- Prepare Pie Filling: In a large mixing bowl, mix sugar, cinnamon, salt, ginger, and cloves. Add 3 of the eggs, pumpkin, and evaporated milk to the dry mixture. Whisk until well combined.
- Egg Wash: In a small bowl, beat water and the remaining egg with a fork to make the egg wash. Use a pastry brush to lightly coat the pie crust and cut-out leaves.
- Pour pie filling into the pie shell until ¾ full.
- Cover the edges of the pie with a pie shield. Bake at 350℉ for approximately 50-60 minutes, removing the pie shield for the last 15 minutes of baking.
- While baking the pie at 350℉, place cut-out leaves in the oven and bake for approximately 15 minutes until golden. Cool on a wire rack.
- The pumpkin pie is done when the filling is puffed and still slightly jiggly in the center when gently shaken, or when a knife inserted in the center comes out clean. Remove the pie from the oven and let it cool completely on a wire rack for up to two hours.
- Decorate with pie crust leaves. If not serving within two hours, cover with plastic wrap and store in the fridge for up to three days.


Leave a Reply